There are affiliate links below, if you are unsure of what affiliate links are please go to “Disclosures/Disclaimers” and “Privacy Policy” at the top of my HOME page. Affiliate links basically allow me to receive a very small referral fee, but only if you make purchases. Just because you go to the link doesn’t mean that I will receive a referral fee. Thank you so much for considering my affiliate links; I really appreciate it!
I hope you enjoy this free crochet written pattern for my Crochet Quick Easy Beginner Tooth Fairy Pillow! If you are a Helenmay Crochet Special Donor Member, you are eligible to receive the PDF written pattern for free. If you are a member, you can contact me at the top of my blog’s HOME page and request this written pattern
Keep scrolling below for the free written pattern on my blog. If you go to the bottom of the screen, you can also use Google Translate.
If you would like to purchase the PDF written pattern, here is the direct Ravelry Link: Crochet Quick and Easy Beginner Tooth Fairy Pillow PDF Written Pattern
Here is the free step-by-step YouTube video tutorial:
Page 1: Intro
Page 2:
Copying and distribution prohibited. For personal use only.
ABBREVIATIONS:
sc= single crochet inc= increase
ch= chain stitch hdc= half double crochet
FO= finish off or fasten off Sl st= slip stitch
mm= millimeter (s) dc= double crochet
Sc2tog= single crochet 2 stitches together tr= treble crochet
Right side= The side you want showing.
Wrong side= The side you don’t want showing.
St= Stitch YO= Yarn Over
Page 3
Copying and distribution prohibited. For personal use only.
GENERAL MATERIALS LIST: You can mix and match yarn colors for different looks. Just be aware that different yarn choices from mine can change how your Tooth will look when finished. Also, if you change the crochet hook size, it may affect the size and look of your finished crochet Tooth. There is a step-by-step YouTube video tutorial for this Crochet Amigurumi Tooth. Here is the direct blog link:
Materials for the Crochet Tooth Pillow:
-Crochet hook size 3.75mm
-1 tapestry/darning needle
-1 pair of scissors
-15 mm safety doll eyes.
-Poly Foam. I used 3” x 15” x 17” with plenty left over for other projects.
 Available in different sizes. Click on the picture above, or here, to go directly to the affiliate link. Prime eligible!
Yarn:
-1 skein Yarn Bee Sugarwheel Cotton Sparkle “Twirls at Twilight” for the main color.
Alternate yarn choice:

Click on the picture above, or here, to go directly to the affiliate link. Different color choices are available. Prime eligible.
-1 skein 100% acrylic, medium 4, black colored yarn for the mouth.
-1 skein “I Love this Yarn” Pinkytoes, colored yarn for the cheeks.
Page 4
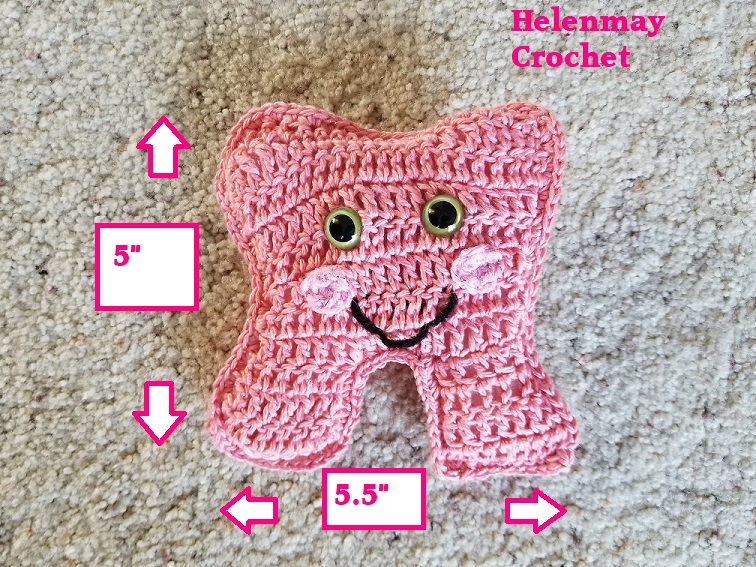
TOOTH: Use your main colored yarn. Make 2 panels: Front and Back.
Starting Chain– Ch12
Row 1– Make 1dc into the 4th ch from the hook and 1dc in every st back across. (10 total)
Row 2– Turn your work, make 1dc into the next st and 1dc in every st back across. (9 total)
Row 3– Turn your work, make 1dc into the next st and 1dc in every st back across. (8 total)
Row 4– Turn your work, make 1dc into the next st and 1dc in every st back across. Ch 14. (7 total dc and ch 14)
Row 5– Make 1dc into the 4th ch from the hook and 1dc in the next st and every st back across. (19 total)
Row 6– Turn your work, make 1dc into the next st and every st back across. (18 total)
Row 7– Turn your work, make 1dc into the next st and every st back across. (17 total)
Row 8– Ch3, turn your work, make 1dc into the same st and then 1dc into the next st and every st back across except for the last st. In the last st make 2dc. (19 total)
Row 9– Ch3, turn your work, make 1dc into the same st and then 1dc into the next st and every st back across except for the last st. In the last st make 2dc. (21 total)
Row 10– Ch3, turn your work, make 1dc into the same st and then 1dc into the next st and every st back across except for the last st. In the last st make 2dc. (23 total)
Page 5
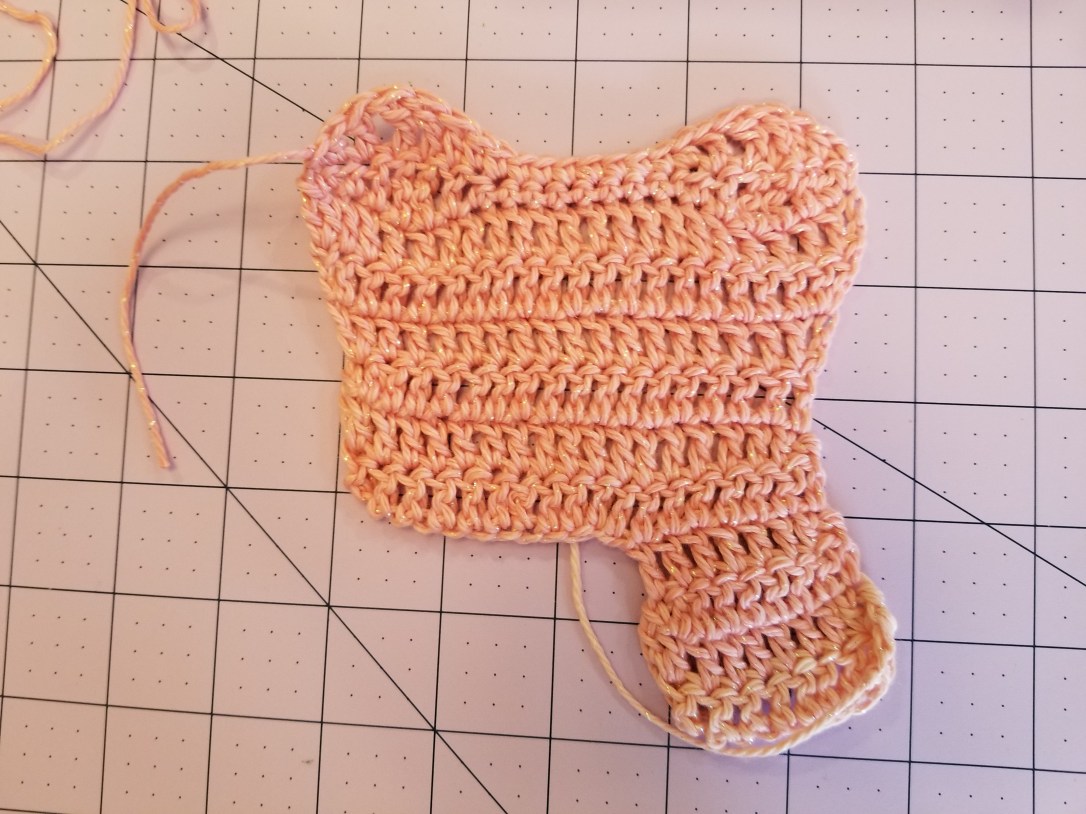
Row 11– Turn your work, make 1sc into the next st, 1hdc into the next st, 1dc in the next st, 1tr into the next 2 st, 1dc in the next st, 1hdc into the next st and 1sc into the next 8st, then 1hdc in the next st, 1dc in the next st, 1 tr into the next 2 st, 1dc into the next st, 1hdc into the next st, and 1sc into the last st. ( 2 shells complete on opposite sides of the tooth)
Row 12– Ch1, turn your work, 1hdc into the next st, 1dc into the next st, 1tr into the next 2 st, 1dc into the next st, 1hdc into the next st, and 1sc into the next 8st, then 1hdc in the next st, 1dc in the next st, 1tr into the next 2 st, 1dc into the next st, 1hdc into the next st, and slst into the last st. FO.
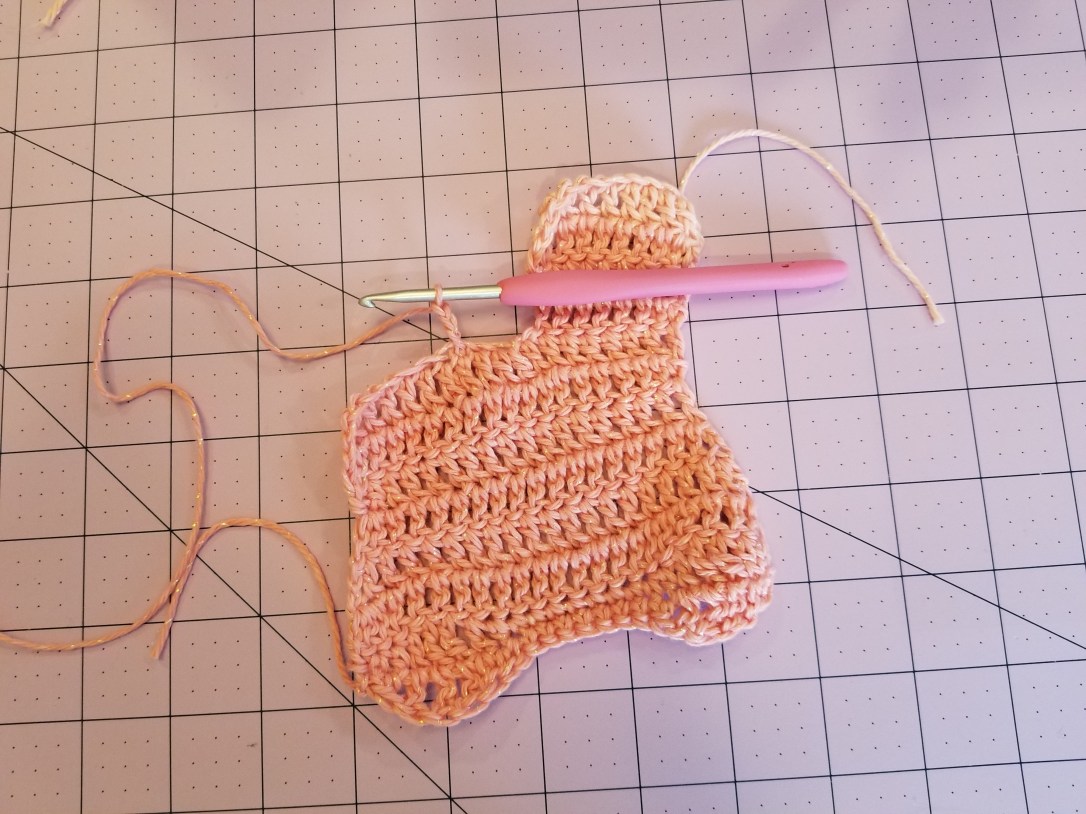
Turn your work upside down (The shells should be facing towards you). Count 8 st from the left and join your same colored yarn.
Row 1- Ch3, make 1dc in the next st and every st back across. (7 total)
Row 2– Ch3, make 1dc into the same st and 1dc into the next st and every st back across (8 total)
Row 3– Ch3, make 1dc into the same st and 1dc into the next st and every st back across (9 total)
Row 4– Ch3, make 1dc into the same st and 1dc into the next st and every st back across FO. (10 total)
Page 6
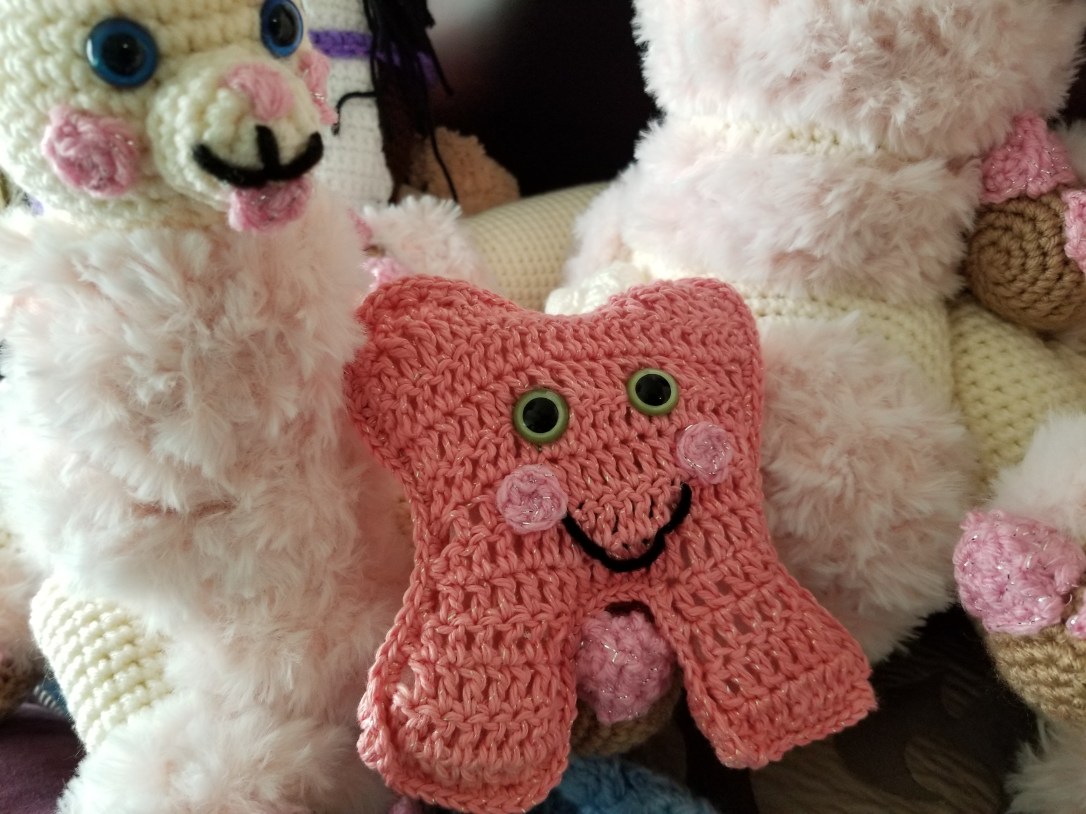
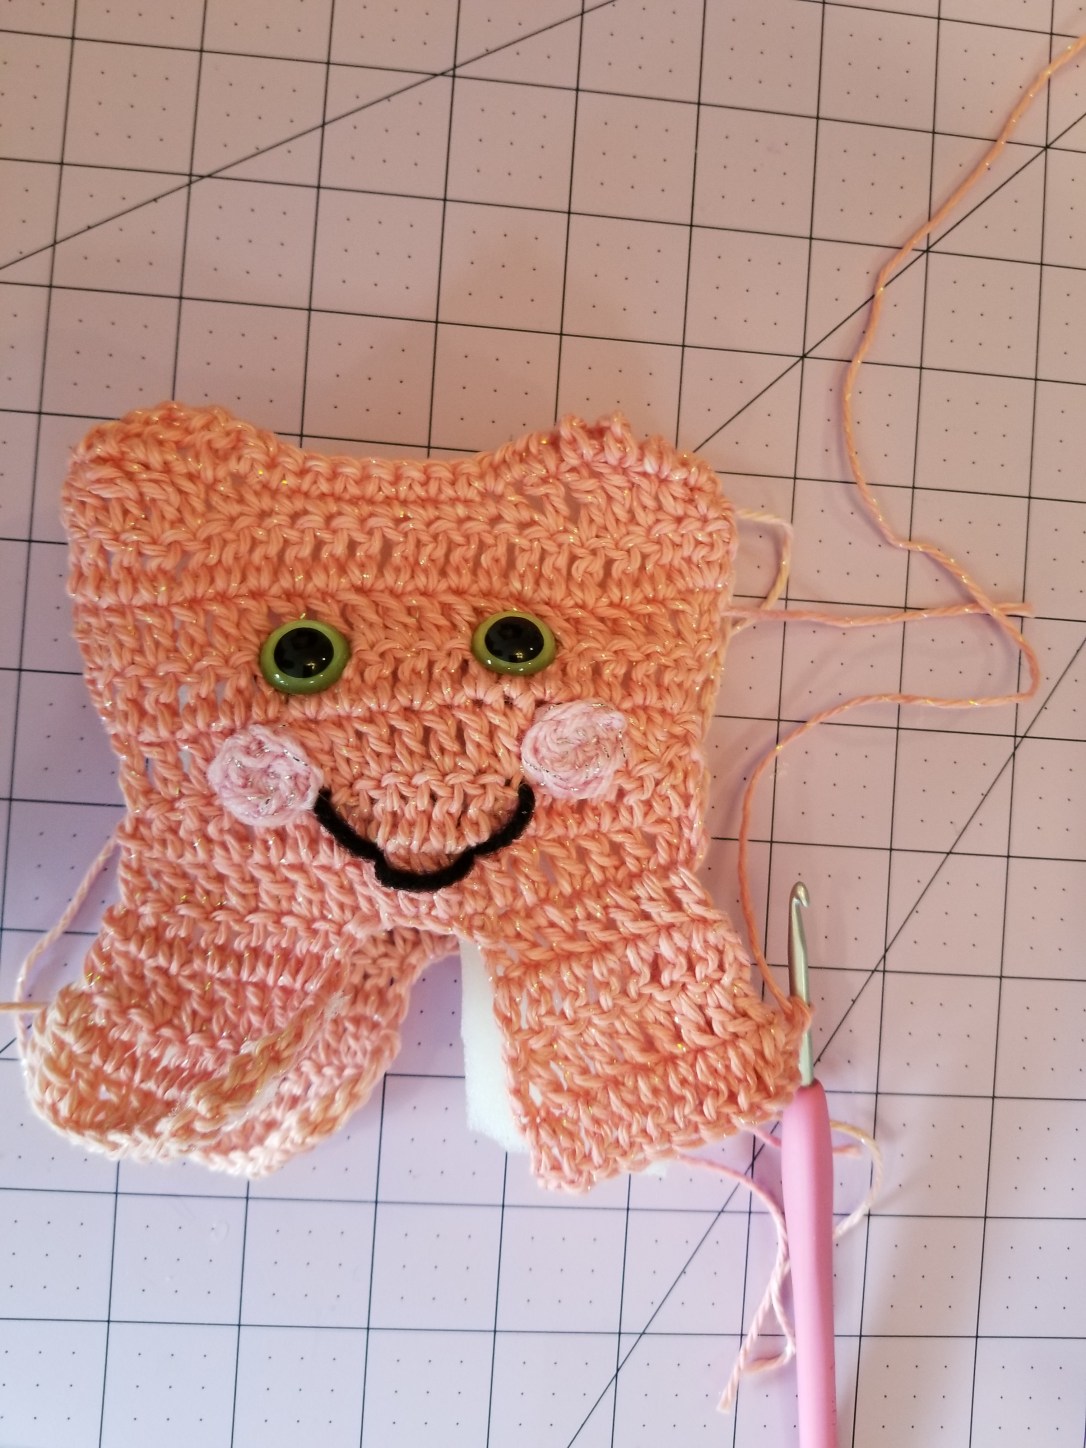
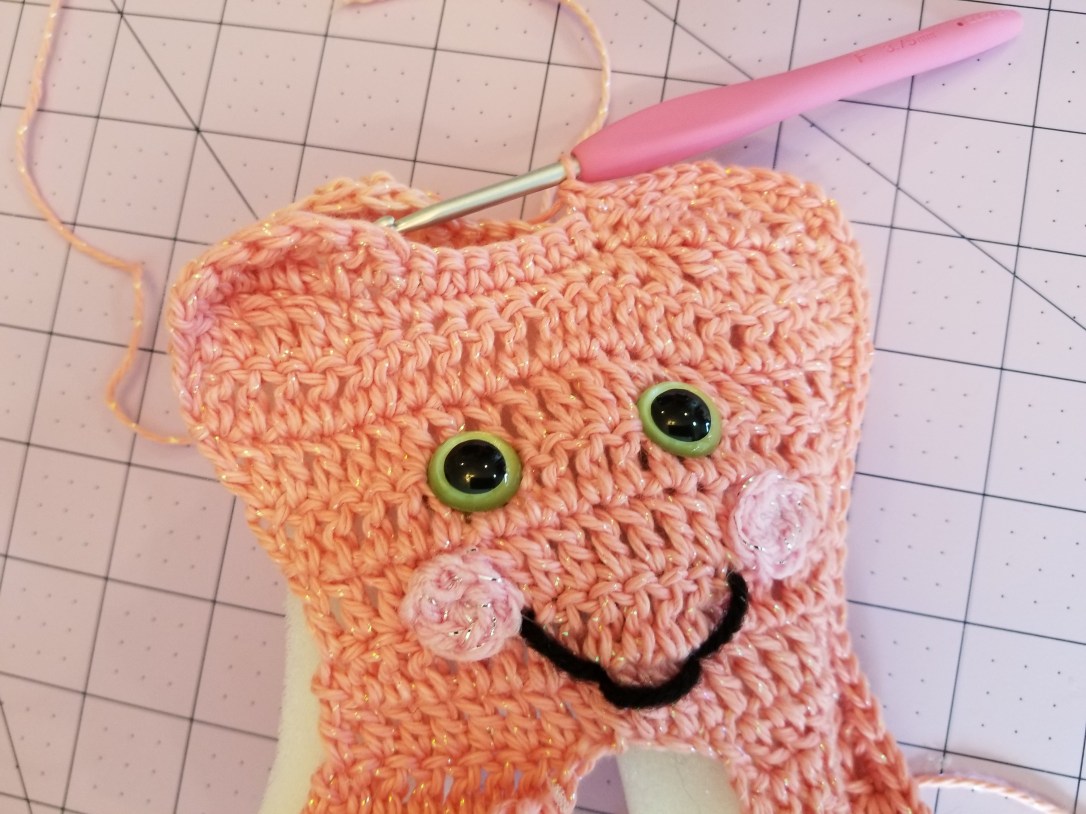
MAKING THE FACE:
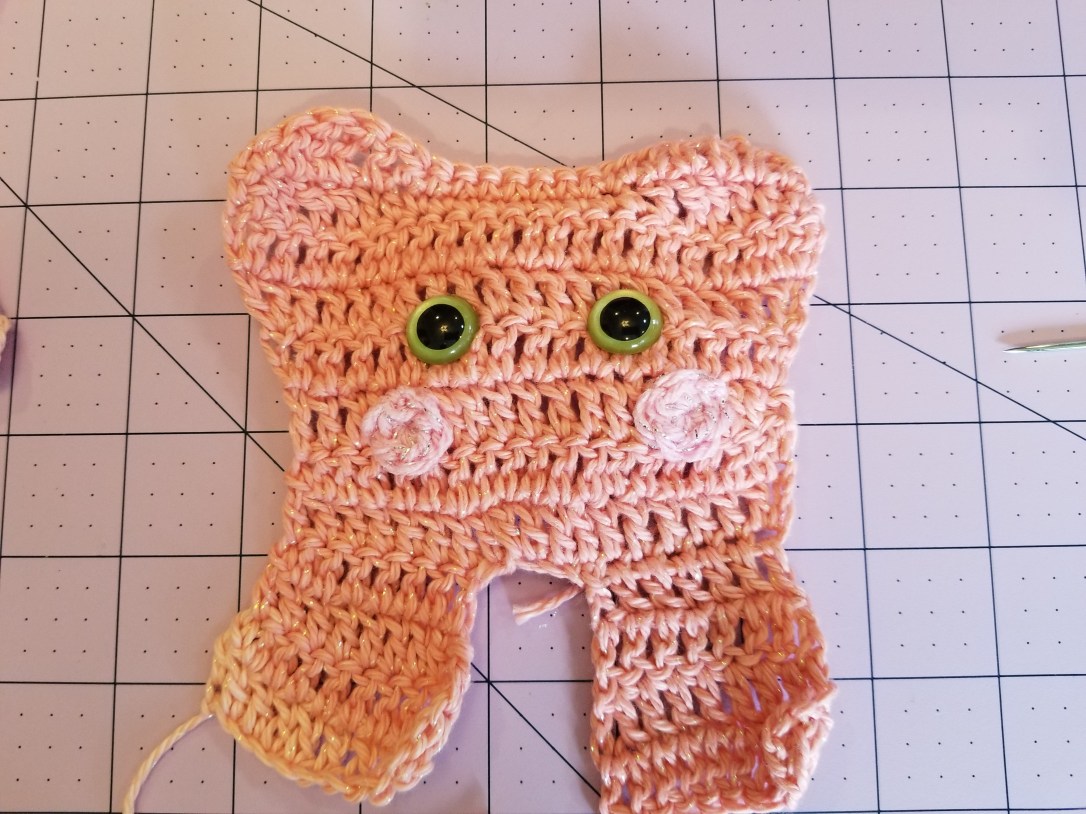
Place the safety doll eyes beneath the 4th row from the top. Make sure to place the safety doll eye in the top of the dc stitch and not between the dc stitches. I had approximately 3 st between the eyes.
Cheeks: Use your pink colored yarn. Make 2.
-Using the magic circle technique, make 6sc into the magic circle. Slst. FO. (6 total)
***Alternative to the magic circle:
-Ch2 -Work all of your stitches in the second ch from the hook. Do not count the 1st ch you skipped as a stitch.
If you need additional help with the magic circle, here is the direct link to the YouTube video tutorial: Magic circle YouTube video tutorial
Use the pictures above as a guide, and sew the cheeks in place.
Embroidering the mouth: Use your black colored yarn.
Page 7
PLACING THE POLY FOAM:
First step: Cut out the poly foam in a square the size of the tooth and 1” thick.
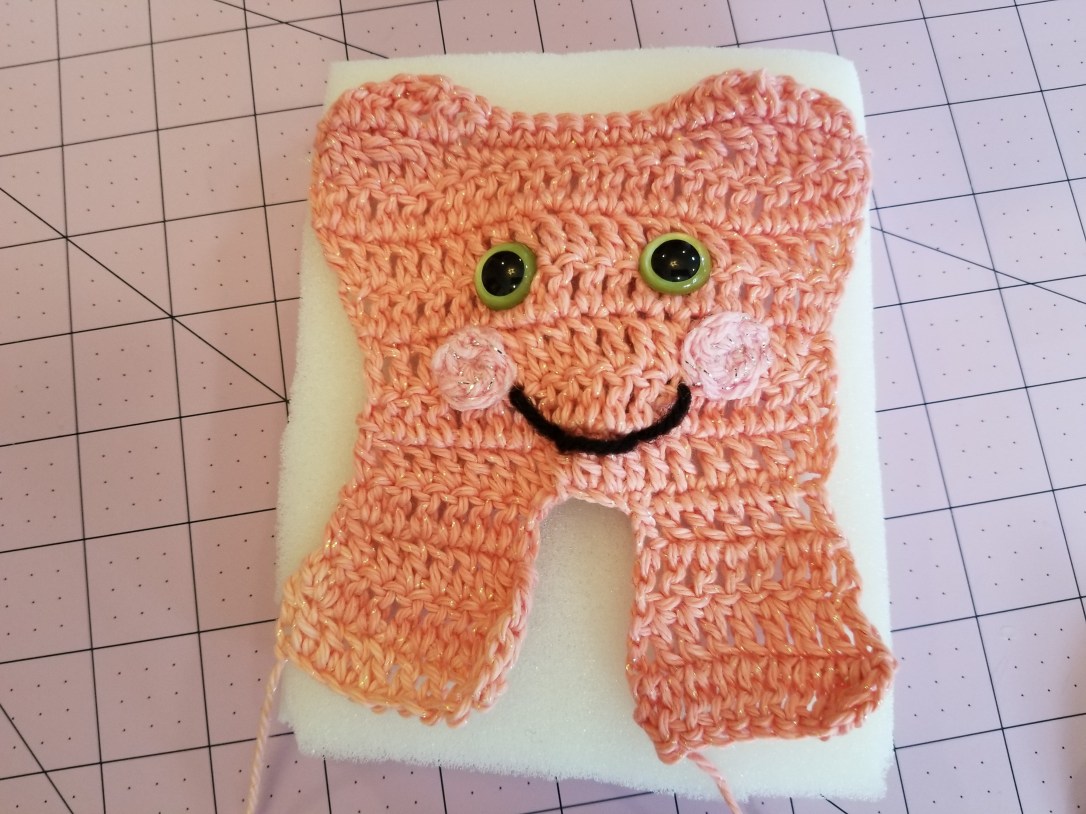
Second step: Trace around the tooth with a colored marker and then cut out the tooth shape 1cm from the traced border.
Third step: Sandwich the poly foam between the front tooth panel and the back tooth panel.
Page 8
Copying and distribution prohibited. For personal use only.
CROCHETING THE TOOTH BORDER: Use the main colored yarn.
Join your yarn in the bottom right corner of the tooth. Along the sides of the tooth you will be crocheting 2sc in the space below the dc (The dc stitch will be on it’s side). Make 2sc in each dc space along the side. Around any corners on the tooth make an extra sc in the space before and after the curve (For example, 3sc in the dc space before a curve. Along the top/bottom of the tooth, you will make 1sc in every st. So, after a curve, or before a curve, you will make 2sc into the same st. This will help the curves lay flat by making the extra stitches). Crochet around the border of the tooth (Bury any loose yarn ends as you are crocheting), which will combine the front and back panel of the tooth and sandwich the poly foam. When you reach the beginning st, slst and FO. Bury your remaining loose yarn end (s).
BACK POCKET: Use your main colored yarn.
-ch15
-Make 1sc into the 2nd ch from the hook and 1sc in every st back across. (14 total)
-*Ch1, turn your work, make 1sc into the next st and every st back across. Repeat from * 10 times. FO. Leave a long loose yarn end for sewing. (14 total)
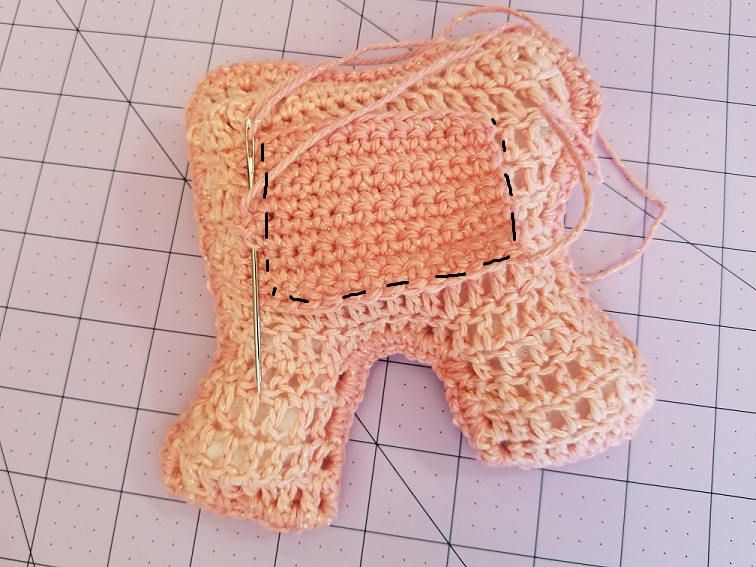
Using your tapestry needle, and the same colored yarn, sew the pocket in place on the back.
Page 9
Copyright 2019 by Helen Brady. All Rights Reserved. This pattern may not be used for purposes of mass production.
Helenmay Crochet YouTube Channel Direct link: www.tinyurl.com/helenmaycrochet
Helenmay Crochet Blog: www.Helenmaycrochet.com
Helenmay Crochet YouTube Channel Facebook Group:
https://www.facebook.com/groups/1603416073308144/
Here is the direct Ravelry link if you would like to purchase the PDF written pattern:
Crochet Quick and Easy Beginner Tooth Fairy Pillow PDF Written Pattern
