There are affiliate links below, if you are unsure of what affiliate links are please go to “Disclosures/Disclaimers” and “Privacy Policy” at the top of my HOME page. Affiliate links basically allow me to receive a very small referral fee, butonly if you make purchases. Just because you go to the link doesn’t mean that I will receive a referral fee. Thank you so much for considering my affiliate links; I really appreciate it!
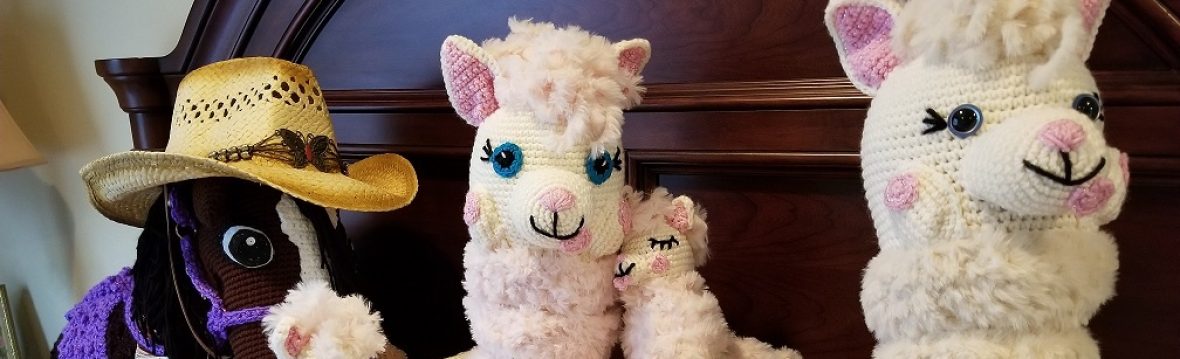
I decided to hit all of the Alpaca Farm shops during the San Diego Yarn Crawl this year! It was a lot of fun! I got a lot of wonderful yarn colors for crochet projects. I even picked up a few extra gifts for the Helenmay Crochet Special Donor Member random surprise gift box at the end of the year 2019!!!
Susan Myers requested that I make her a custom crochet alpaca, which inspired me to visit our local farms in San Diego. Susan is near Magnolia Blossom Ranch. Be sure to check out their site. Here is the non-affiliate link: Magnolia Blossom Ranch
Here is the video that shows my visits to the San Diego Yarn Crawl Alpaca Farms for the year 2019:
Here is the Yarn Crawl from the year 2017, where I visited all of the yarn shops on the San Diego Yarn Crawl List:
There are affiliate links below, if you are unsure of what affiliate links are please go to “Disclosures/Disclaimers” and “Privacy Policy” at the top of my HOME page. Affiliate links basically allow me to receive a very small referral fee, butonly if you make purchases. Just because you go to the link doesn’t mean that I will receive a referral fee. Thank you so much for considering my affiliate links; I really appreciate it!
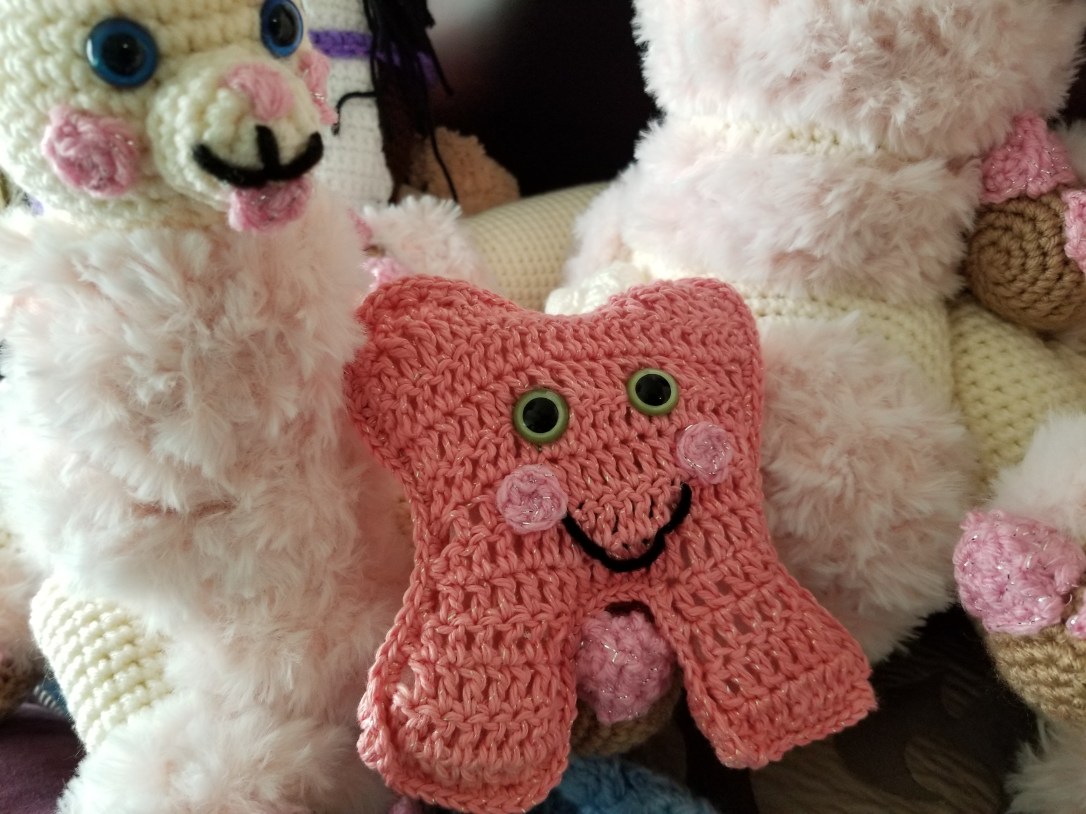
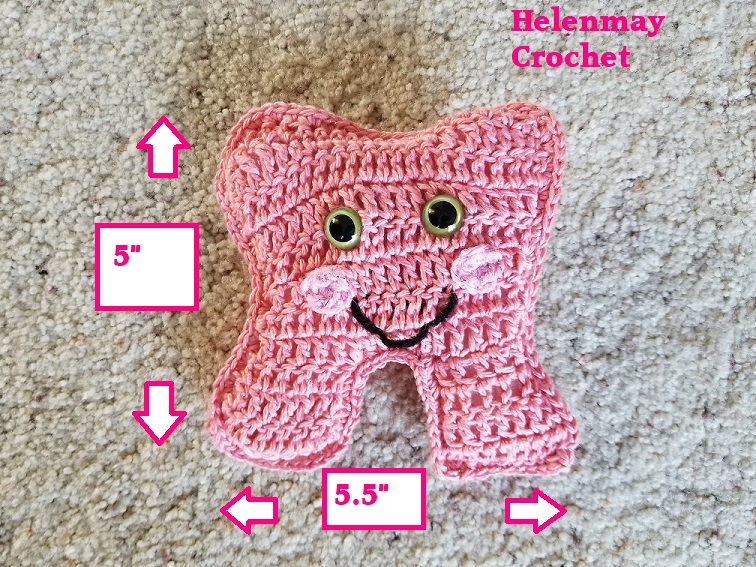
I hope you enjoy this free crochet written pattern for my Crochet Quick Easy Beginner Tooth Fairy Pillow! If you are a Helenmay Crochet Special Donor Member, you are eligible to receive the PDF written pattern for free. If you are a member, you can contact me at the top of my blog’s HOME page and request this written pattern
Keep scrolling below for the free written pattern on my blog. If you go to the bottom of the screen, you can also use Google Translate.
Here is the free step-by-step YouTube video tutorial:
Page 1: Intro
Page 2:
Copying and distribution prohibited. For personal use only.
ABBREVIATIONS:
sc= single crochet inc= increase
ch= chain stitch hdc= half double crochet
FO= finish off or fasten off Sl st= slip stitch
mm= millimeter (s) dc= double crochet
Sc2tog= single crochet 2 stitches together tr= treble crochet
Right side= The side you want showing.
Wrong side= The side you don’t want showing.
St= Stitch YO= Yarn Over
Page 3
Copying and distribution prohibited. For personal use only.
GENERAL MATERIALS LIST: You can mix and match yarn colors for different looks. Just be aware that different yarn choices from mine can change how your Tooth will look when finished. Also, if you change the crochet hook size, it may affect the size and look of your finished crochet Tooth. There is a step-by-step YouTube video tutorial for this Crochet Amigurumi Tooth. Here is the direct blog link:
Materials for the Crochet Tooth Pillow:
-Crochet hook size 3.75mm
-1 tapestry/darning needle
-1 pair of scissors
-15 mm safety doll eyes.
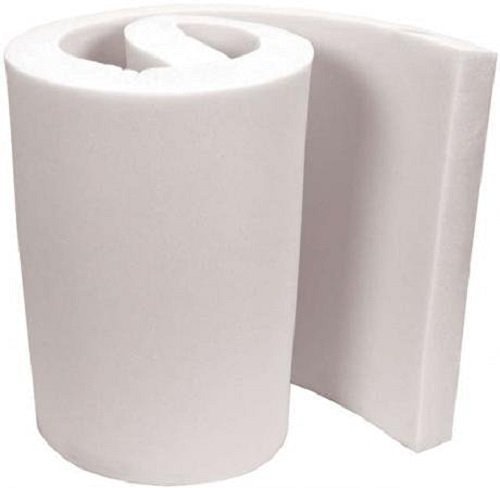
-Poly Foam. I used 3” x 15” x 17” with plenty left over for other projects.
Available in different sizes. Click on the picture above, or here, to go directly to the affiliate link. Prime eligible!
Yarn:
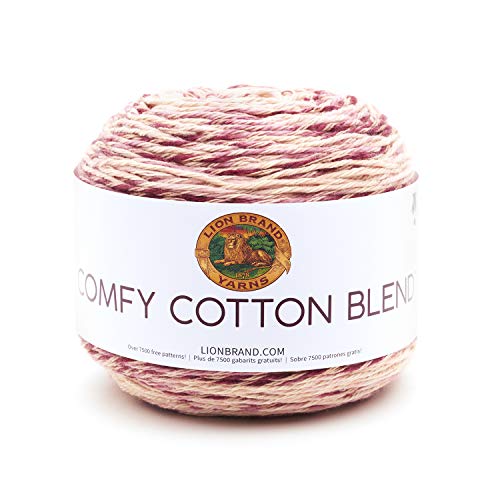
-1 skein Yarn Bee Sugarwheel Cotton Sparkle “Twirls at Twilight” for the main color.
Alternate yarn choice:
Click on the picture above, or here, to go directly to the affiliate link. Different color choices are available. Prime eligible.
-1 skein 100% acrylic, medium 4, black colored yarn for the mouth.
-1 skein “I Love this Yarn” Pinkytoes, colored yarn for the cheeks.
Page 4
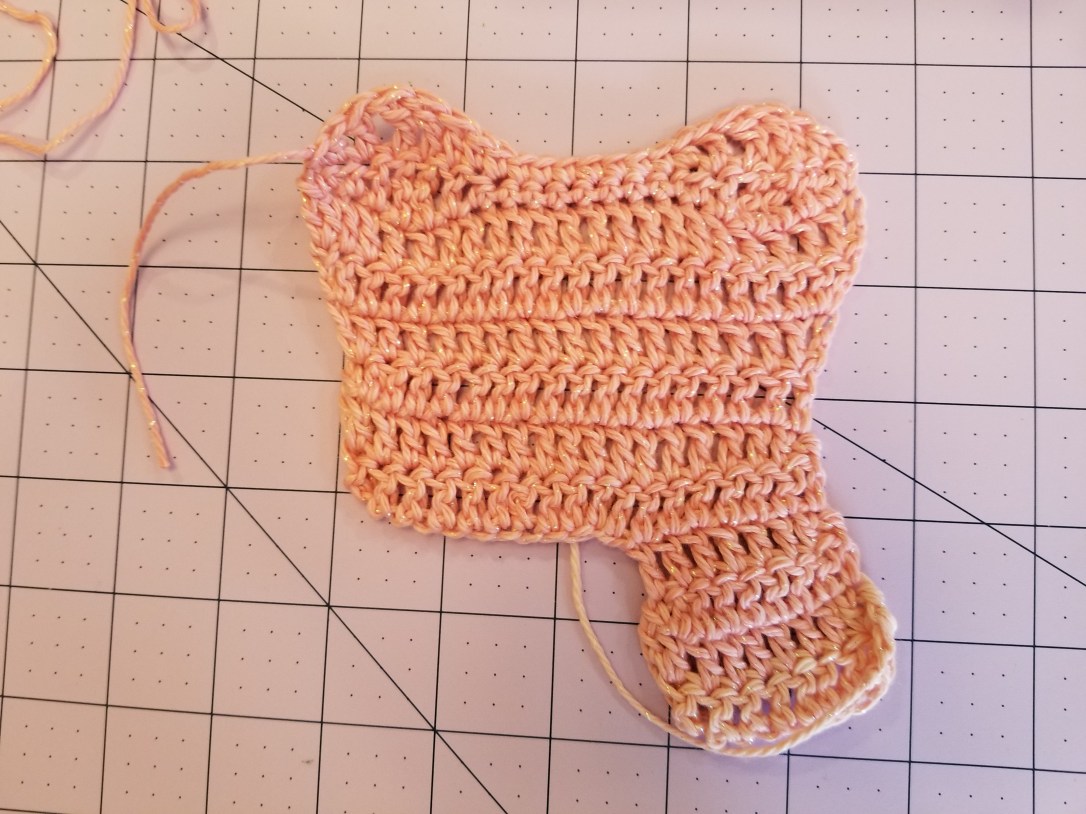
TOOTH: Use your main colored yarn. Make 2 panels: Front and Back. Starting Chain– Ch12 Row 1– Make 1dc into the 4th ch from the hook and 1dc in every st back across. (10 total) Row 2– Turn your work, make 1dc into the next st and 1dc in every st back across. (9 total) Row 3– Turn your work, make 1dc into the next st and 1dc in every st back across. (8 total) Row 4– Turn your work, make 1dc into the next st and 1dc in every st back across. Ch 14. (7 total dc and ch 14)
This slideshow requires JavaScript.
Row 5– Make 1dc into the 4th ch from the hook and 1dc in the next st and every st back across. (19 total) Row 6– Turn your work, make 1dc into the next st and every st back across. (18 total) Row 7– Turn your work, make 1dc into the next st and every st back across. (17 total) Row 8– Ch3, turn your work, make 1dc into the same st and then 1dc into the next st and every st back across except for the last st. In the last st make 2dc. (19 total) Row 9– Ch3, turn your work, make 1dc into the same st and then 1dc into the next st and every st back across except for the last st. In the last st make 2dc. (21 total) Row 10– Ch3, turn your work, make 1dc into the same st and then 1dc into the next st and every st back across except for the last st. In the last st make 2dc. (23 total)
Page 5
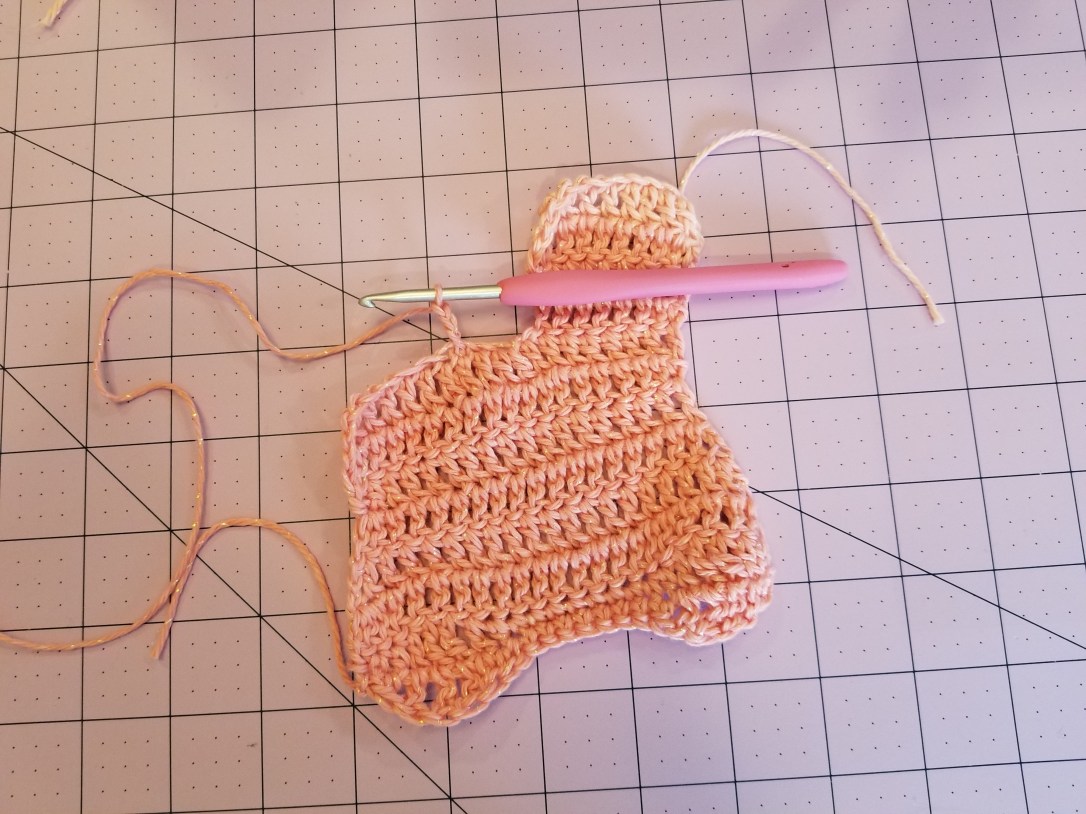
Row 11– Turn your work, make 1sc into the next st, 1hdc into the next st, 1dc in the next st, 1tr into the next 2 st, 1dc in the next st, 1hdc into the next st and 1sc into the next 8st, then 1hdc in the next st, 1dc in the next st, 1 tr into the next 2 st, 1dc into the next st, 1hdc into the next st, and 1sc into the last st. ( 2 shells complete on opposite sides of the tooth) Row 12– Ch1, turn your work, 1hdc into the next st, 1dc into the next st, 1tr into the next 2 st, 1dc into the next st, 1hdc into the next st, and 1sc into the next 8st, then 1hdc in the next st, 1dc in the next st, 1tr into the next 2 st, 1dc into the next st, 1hdc into the next st, and slst into the last st. FO.
Turn your work upside down (The shells should be facing towards you). Count 8 st from the left and join your same colored yarn. Row 1- Ch3, make 1dc in the next st and every st back across. (7 total)
Row 2– Ch3, make 1dc into the same st and 1dc into the next st and every st back across (8 total)
Row 3– Ch3, make 1dc into the same st and 1dc into the next st and every st back across (9 total)
Row 4– Ch3, make 1dc into the same st and 1dc into the next st and every st back across FO. (10 total)
Page 6
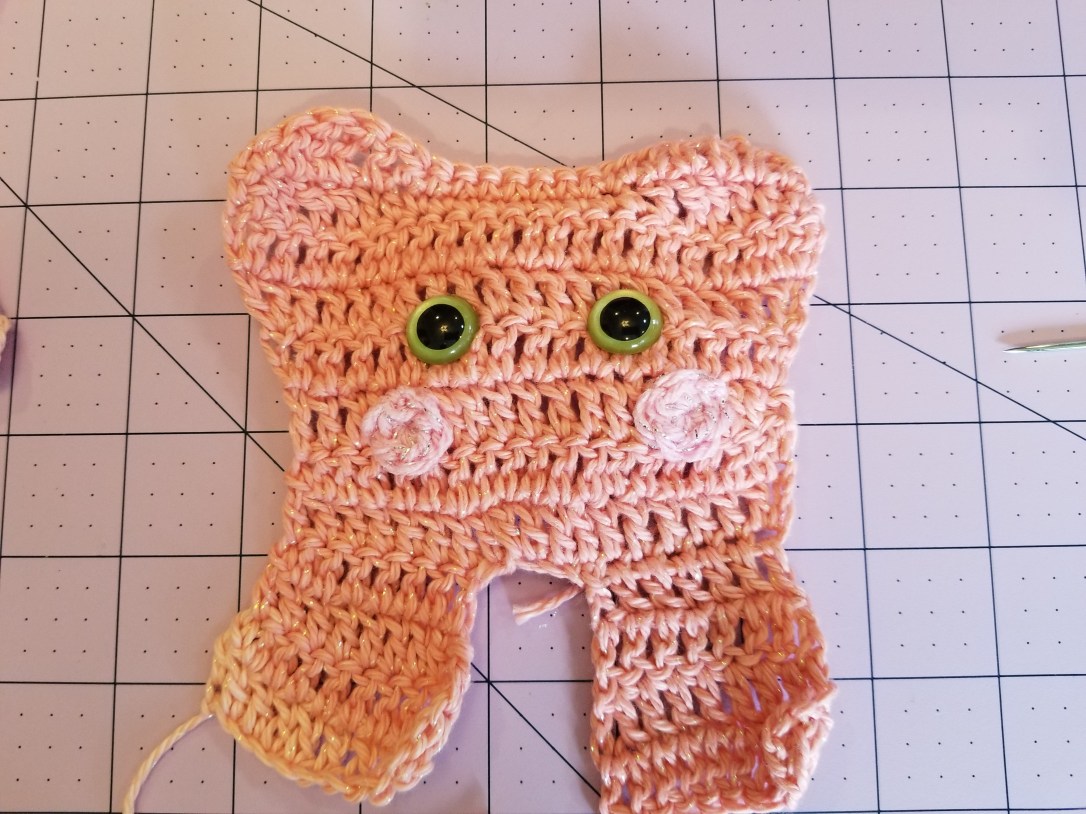
MAKING THE FACE:
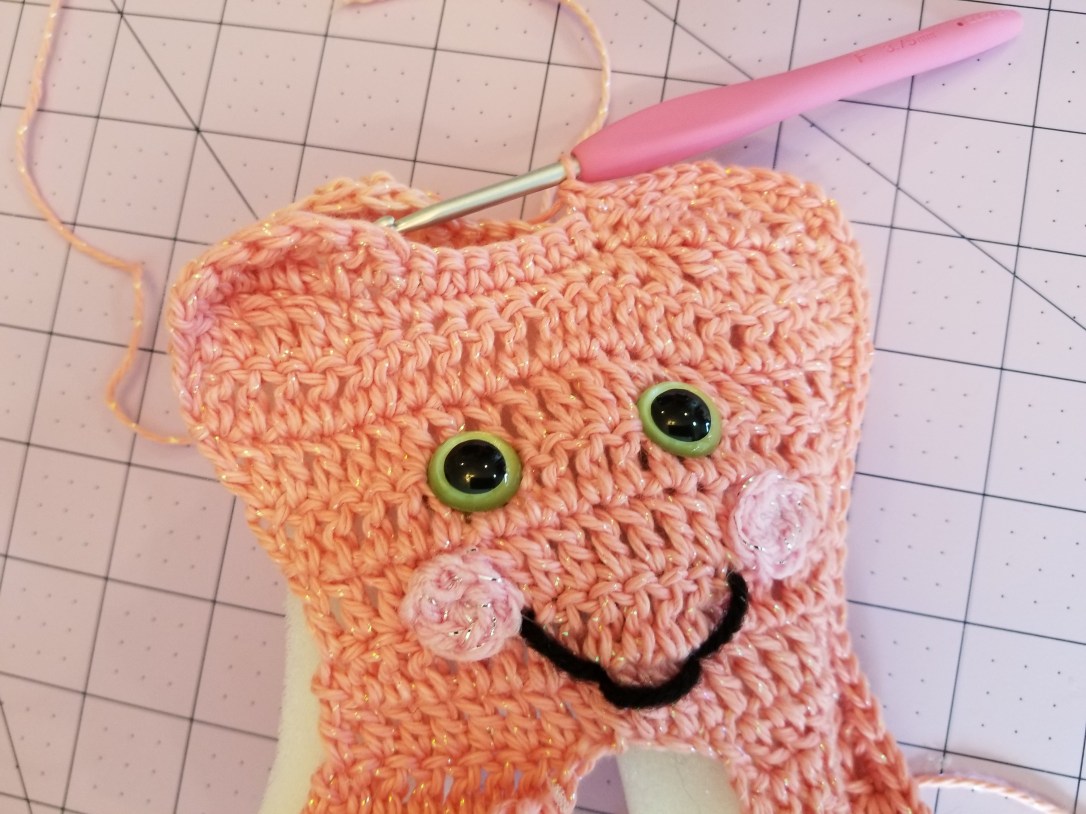
Place the safety doll eyes beneath the 4th row from the top. Make sure to place the safety doll eye in the top of the dc stitch and not between the dc stitches. I had approximately 3 st between the eyes. Cheeks: Use your pink colored yarn. Make 2.
-Using the magic circle technique, make 6sc into the magic circle. Slst. FO. (6 total)
***Alternative to the magic circle:
-Ch2 -Work all of your stitches in the second ch from the hook. Do not count the 1st ch you skipped as a stitch.
If you need additional help with the magic circle, here is the direct link to the YouTube video tutorial: Magic circle YouTube video tutorial
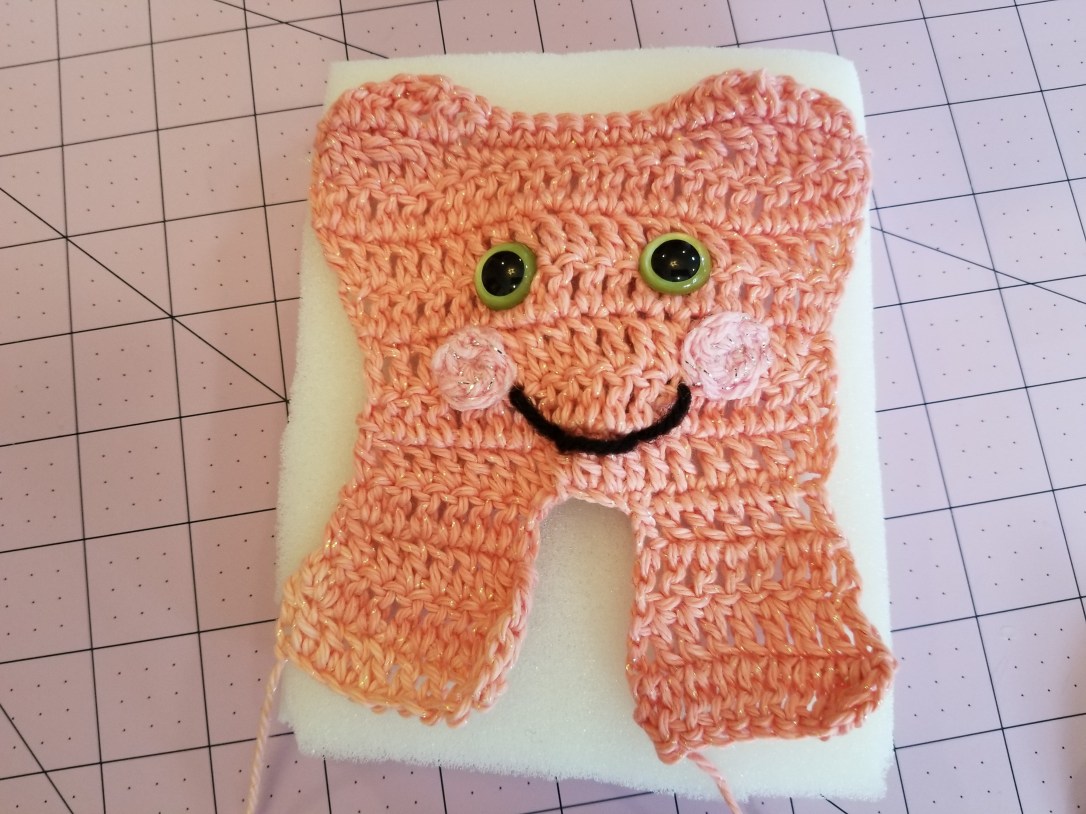
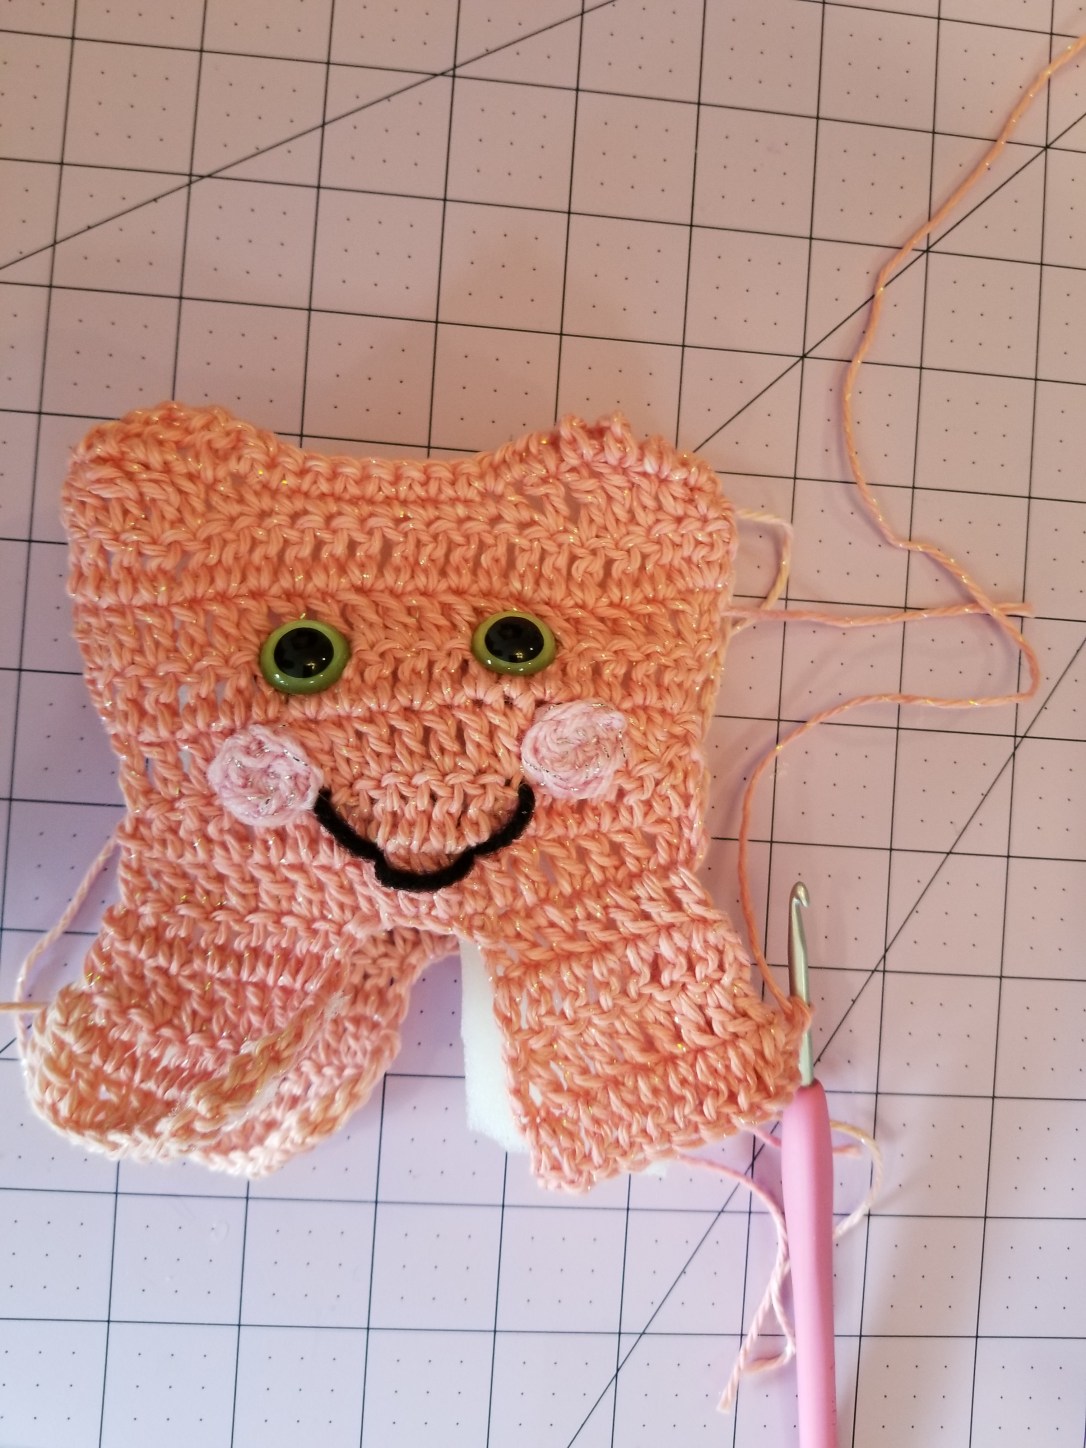
Use the pictures above as a guide, and sew the cheeks in place. Embroidering the mouth: Use your black colored yarn.
This slideshow requires JavaScript.
Page 7
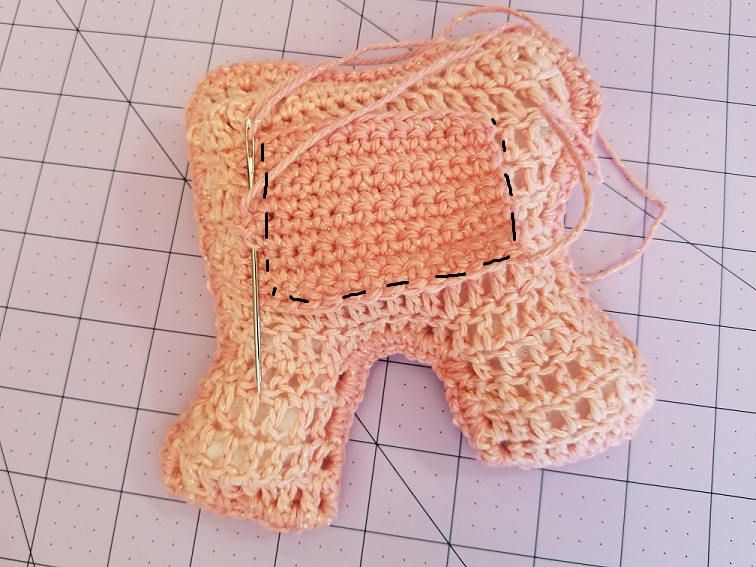
PLACING THE POLY FOAM: First step: Cut out the poly foam in a square the size of the tooth and 1” thick.
Second step: Trace around the tooth with a colored marker and then cut out the tooth shape 1cm from the traced border.
This slideshow requires JavaScript.
Third step: Sandwich the poly foam between the front tooth panel and the back tooth panel.
Page 8
Copying and distribution prohibited. For personal use only.
CROCHETING THE TOOTH BORDER: Use the main colored yarn.
Join your yarn in the bottom right corner of the tooth. Along the sides of the tooth you will be crocheting 2sc in the space below the dc (The dc stitch will be on it’s side). Make 2sc in each dc space along the side. Around any corners on the tooth make an extra sc in the space before and after the curve (For example, 3sc in the dc space before a curve. Along the top/bottom of the tooth, you will make 1sc in every st. So, after a curve, or before a curve, you will make 2sc into the same st. This will help the curves lay flat by making the extra stitches). Crochet around the border of the tooth (Bury any loose yarn ends as you are crocheting), which will combine the front and back panel of the tooth and sandwich the poly foam. When you reach the beginning st, slst and FO. Bury your remaining loose yarn end (s). BACK POCKET: Use your main colored yarn.
-ch15
-Make 1sc into the 2nd ch from the hook and 1sc in every st back across. (14 total)
-*Ch1, turn your work, make 1sc into the next st and every st back across. Repeat from * 10 times. FO. Leave a long loose yarn end for sewing. (14 total)
Using your tapestry needle, and the same colored yarn, sew the pocket in place on the back.
There are affiliate links below, if you are unsure of what affiliate links are please go to “Disclosures/Disclaimers” and “Privacy Policy” at the top of my HOME page. Affiliate links basically allow me to receive a very small referral fee, butonly if you make purchases. Just because you go to the link doesn’t mean that I will receive a referral fee. Thank you so much for considering my affiliate links; I really appreciate it!
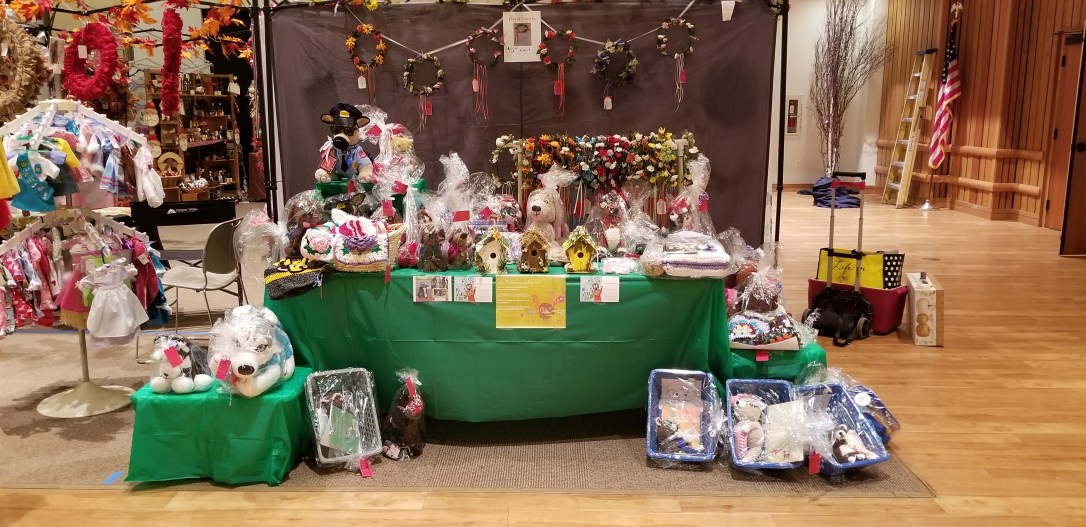
Craft tables can be a lot of fun! I have done a couple of them myself, but I love to look at other craft tables too for crochet ideas! I have put together a list of what I consider top craft table ideas for crochet:
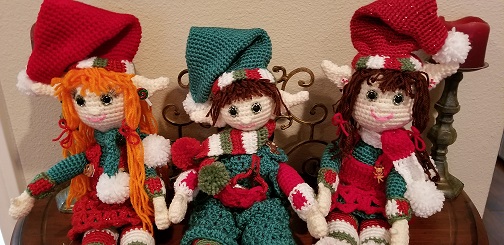
6. My Crochet Christmas Elf Doll had a lot of attention at my craft table. People were picking them up and checking out their adorable crochet outfits! They were definitely a hit!!
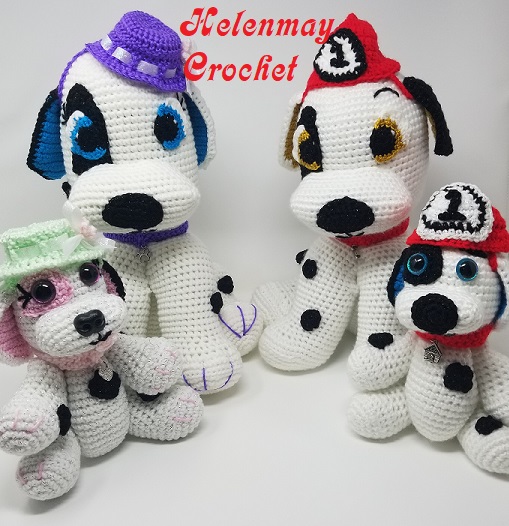
If you like the hat that I used, it is my crochet “Mad Hatter” hat that I originally used for my crochet border collie at the San Diego “Alice in Wonderland” themed county fair. I just left off all of the decorations and changed the original hat to black sparkle colored yarn.
This slideshow requires JavaScript.
8. Crochet hats. I saw a lot of crochet hats at people’s craft tables. For some reason, I didn’t see people have much success with the finished crochet baby blankets. Craft tables are awesome for getting new clients requesting custom crochet work. If you see someone interested in the crochet hats, you could mention that you also do custom crochet baby blankets too. I have several crochet hats that you can find on my Helenmay Crochet YouTube Channel!
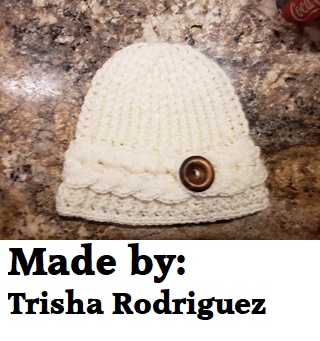
You may like this crochet hat beauty by Trisha Rodriguez on Ravelry. The PDF written pattern was FREE as of 28Sept19
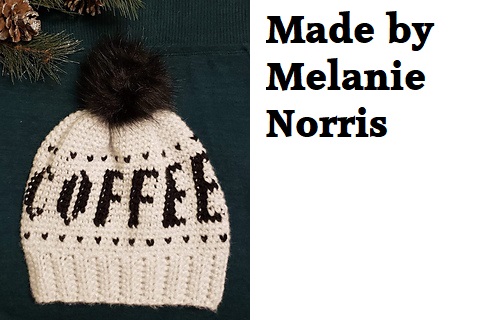
This crochet hat is gorgeous too!! This one was a FREE PDF download on 28Sept19 on Ravelry by Melanie Norris.
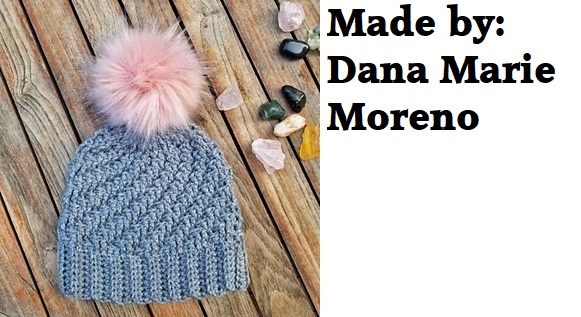
This one was a FREE PDF download as of 28SEPT19 on Ravelry by Dana Marie Moreno:
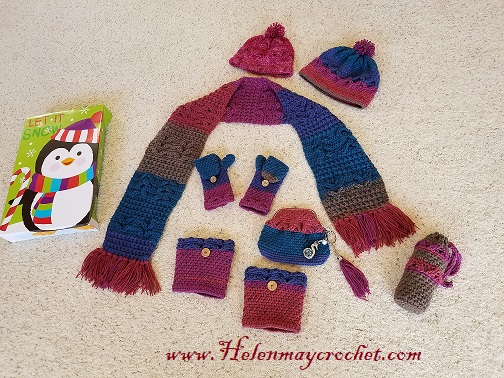
If you would like to check out my Crochet Heavenly Blessing Hat and scarf set, here is the direct blog link: Crochet Heavenly Blessing Set
9. Crochet Baby Booties. These are also quick and simple to make. You may attract more custom crochet orders for crochet baby sets. Some people may just want to purchase your crochet baby booties because they are inexpensive.
Subscribe to my blog to receive notifications for my blog posts. Also, you can subscribe to my Helenmay Crochet YouTube Channel for notifications regarding when I have new video tutorials!
There are affiliate links below, if you are unsure of what affiliate links are please go to “Disclosures/Disclaimers” and “Privacy Policy” at the top of my HOME page. Affiliate links basically allow me to receive a very small referral fee, butonly if you make purchases. Just because you go to the link doesn’t mean that I will receive a referral fee. Thank you so much for considering my affiliate links; I really appreciate it!
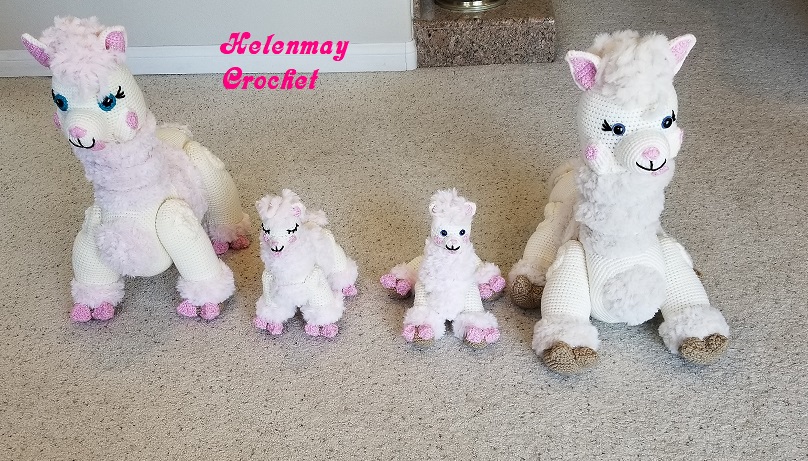
I was contacted via Facebook by Susan Myers who requested a custom crochet alpaca. She wants to make the alpacas for her sister’s alpaca ranch. You can check out the alpaca ranch at this non-affiliate link: Magnolia Blossom Ranch Facebook Page
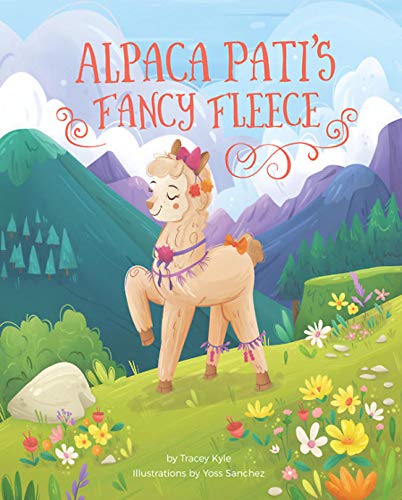
You may like this adorable alpaca children’s book to go with your crochet alpaca!
Click the picture above, or here, to go directly to the affiliate link. Prime eligible!
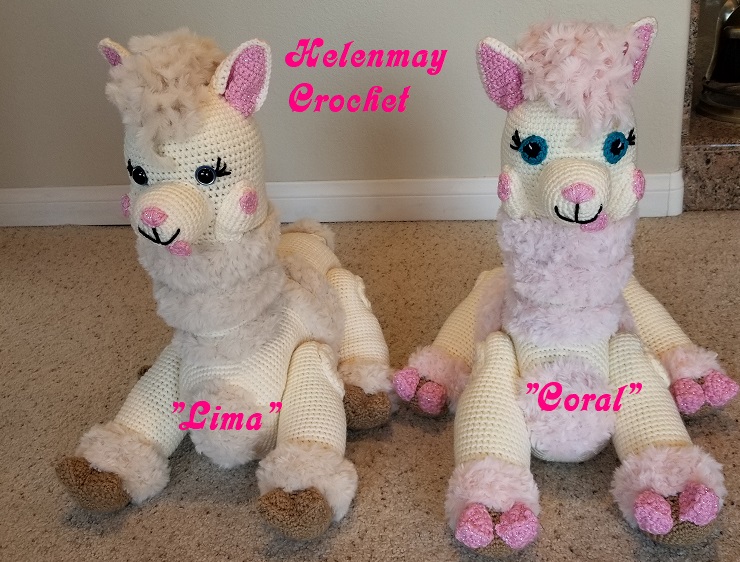
I was contemplating making a medium-sized crochet alpaca too, but I decided to only make a large crochet alpaca and a small crochet alpaca.
The crochet PDF written patterns have been gifted to Terri Beaty Bates in memory of Susan Myers.
Here is part 1 of 3 video tutorial for the crochet small Alpaca:
There are affiliate links below, if you are unsure of what affiliate links are please go to “Disclosures/Disclaimers” and “Privacy Policy” at the top of my HOME page. Affiliate links basically allow me to receive a very small referral fee, butonly if you make purchases. Just because you go to the link doesn’t mean that I will receive a referral fee. Thank you so much for considering my affiliate links; I really appreciate it!
A Helenmay Crochet Special Donor Member, Judy C., requested that a crochet travel dollhouse be added to the crochet waiting list. I first saw a crochet travel dollhouse in one of the Facebook crochet groups, and I loved it! I wanted to make my own version.
Most of my dollhouse furniture was purchased from Hobby Lobby, but you can find a lot of dollhouse items on Amazon too. You may love this 32 piece set!!!
Click on the picture above, or here, to go directly to the affiliate link. Prime eligible.
How adorable is this for your crochet dollhouse?
Click on the picture above, or here, to go directly to the affiliate link.
In the Part 1 video tutorial, I show pictures of my crochet travel dollhouse as well as a close-up look. I will make additional video tutorials in the future with crochet accessories to go into the dollhouse. Too much crochet fun!