There are affiliate links below, if you are unsure of what affiliate links are please go to “Disclosures/Disclaimers” and “Privacy Policy” at the top of my HOME page. Affiliate links basically allow me to receive a very small referral fee, butonly if you make purchases. Just because you go to the link doesn’t mean that I will receive a referral fee.
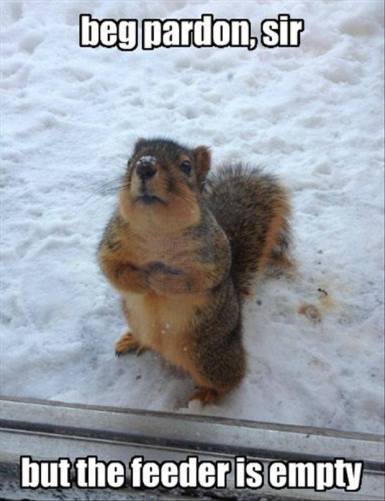
I can’t remember their name, but someone asked me to make a crochet squirrel YouTube video tutorial. She had purchased a crochet written pattern from someone else and couldn’t understand how to make it. She wanted to make the crochet squirrel for her father who absolutely loved squirrels. I think she said that her father loved to feed them.
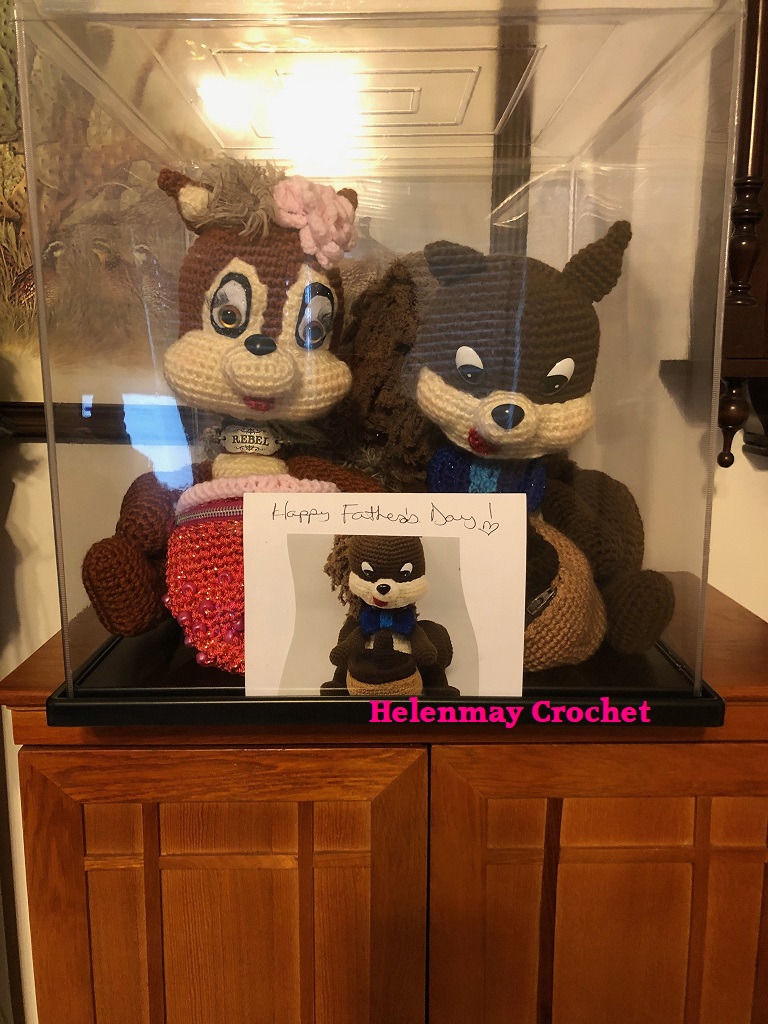
When I finished my crochet squirrel “Chip,” my husband loved him and so did my father. So “Chip” makes a wonderful Father’s Day Gift!! I am making 2 of “Chip” for Father’s Day gifts.
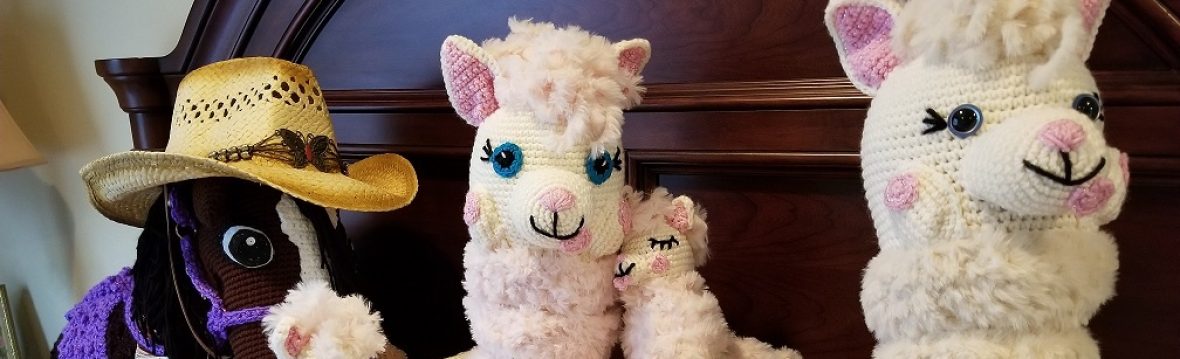
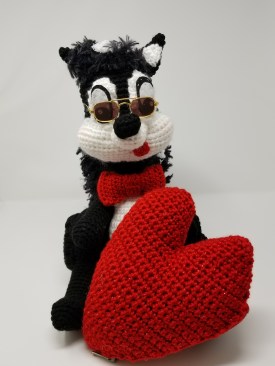
After I finished “Chip,” I thought that he resembled a crochet skunk named “Pepe Le Pew,” and that is how the crochet skunk was born.
Then I thought, how can you have “Pepe Le Pew” without “Penelope the Cat?”
I then thought that “Chip” needed a girlfriend, and “Rebel” was born.
If you only want the PDF written pattern it is available in Ravelry, here is the direct link:
If you like “Chip’s safety doll eyes, here is the direct link to 6060 eyes.
“Chip” and “Rebel” look good in their new case! If you would like an 18″ x 18″ plastic case, click the picture above, or here.
Crochet Squirrel, Skunk, and Cat YouTube Video Tutorial Part 1 Introduction and Materials:
Crochet Amigurumi Squirrel, Skunk, and Cat YouTube video tutorial Part 2: Starting to make your Crochet Amigurumi:
Crochet Amigurumi Squirrel, Skunk, and Cat Part 3 YouTube video tutorial:
Crochet Squirrel, Skunk, and Cat Part 4 DIY Video Tutorial
Crochet Squirrel, Skunk, and Cat Part 5 DIY Video Tutorial
Crochet Quick and Easy Acorn that unzips open:
Crochet Quick and Easy Heart that unzips open:
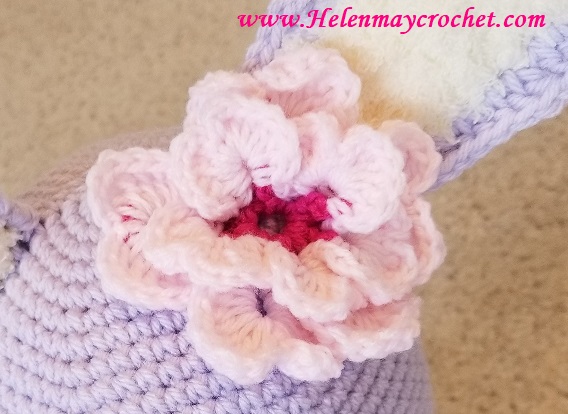
If you like the crochet flower that I used, it is my crochet double cherry blossom flower. I used my 3.5mm crochet hook. The yarn that I used is Red Heart yarn for the Hot Pink color and Pound of Love for the light pink colored yarn. Here is the direct link to my crochet flower series blog post, where you can find the video tutorial:
There are affiliate links below. If you are unsure of what affiliate links are, please go to “Disclosures/Disclaimers” and “Privacy Policy” at the top of my HOME page. Affiliate links basically allow me to receive a very small commission, butonly if you make purchases. Just because you go to the link doesn’t mean that I will receive a commission.
I will be putting all of the different crochet Flower video tutorials here for easy access. You can check back with this blog post periodically to see if I have added any more crochet flowers.
Helenmay Crochet Quick and Easy Rose:
If you wanted to add a stem for your crochet flower, this video tutorial will show you how:
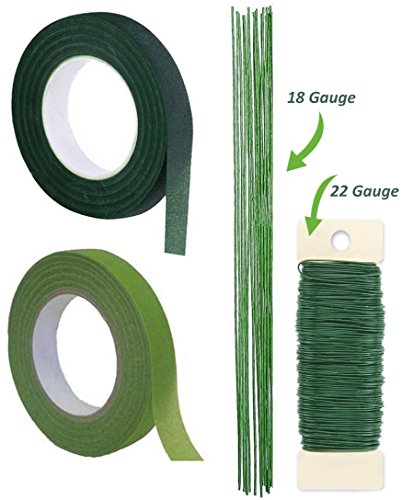
Instead of using yarn on the stem, you could also use floral tape.
You can also quickly and easily attach your crochet rose flower to a pen!
2. Classic Vintage Crochet Rose. This crochet rose is flat, and you can make it as small, or large, as you want.
3. Crochet Gazania Flower
4. Crochet Double Cherry Blossom Flower
5. Crochet Daisy: I made this daisy into a Hot Pad/ Potholder.
6. African Flower Granny Square:
7. Crochet Beautiful Flower Granny Square. Attach any crochet flower design you want to the Granny Square.
This craft idea would be a lot of fun to hold your crochet flowers!
8. Crochet Orchid Flower:
Helenmay Crochet Special Donor Members are eligible to receive the free PDF written pattern for my Orchid Flower. At the top of my blog’s HOME page you will see the contact link. Contact me and request this free PDF written pattern! Here is the direct link to the FREE step-by-step YouTube video tutorial for my Crochet Orchid Flower:
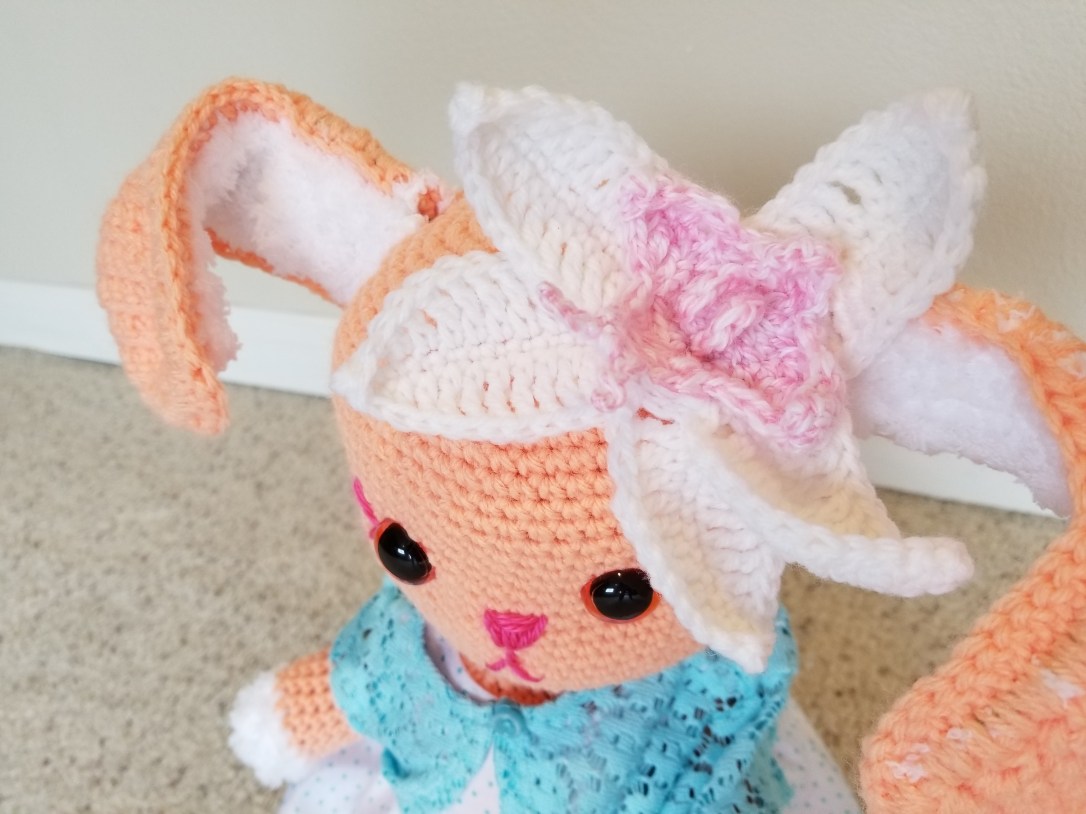
There is a separate YouTube video tutorial for the Crochet Large Bunny Rabbit. There is also a paid PDF written pattern for my Large Crochet Bunny Rabbit that can be found on Ravelry. Here is the direct Ravelry link: Crochet Large Bunny Rabbit PDF written pattern
There are affiliate links below. If you are unsure of what affiliate links are, please go to “Disclosures/Disclaimers” and “Privacy Policy” at the top of my HOME page. Affiliate links basically allow me to receive a very small commission, butonly if you make purchases. Just because you go to the link doesn’t mean that I will receive a commission.
I received a message today from Sarah:
“Hi ,
I just saw your video on crocheting a doll
pillow .I think your work is beautiful and would love to make one for my granddaughter..
Can you tell me how you make the pillow for theses dolls.?You demonstrate everything about the dress and attaching the doll but not making the pillow.
Any help would be appreciated,
Sarah”
I replied to Sarah that I have a separate video tutorial for making the pillow. Other people may have trouble finding the separate video tutorial too, so I wanted to make a blog post for the crochet bed doll. One of these days, I plan on making the bed doll a different style dress.
This slideshow requires JavaScript.
When you watch my crochet bed doll pillow, you will find out that I dedicated the video tutorial to my grandmother. The 2 dolls in the pictures above are her dolls. I based my YouTube video tutorial on one of her dolls, as you can see from the pictures. I was so happy to receive these dolls, and I have them in storage. Every time I see them, I remember my grandmother and all of the wonderful memories of her.
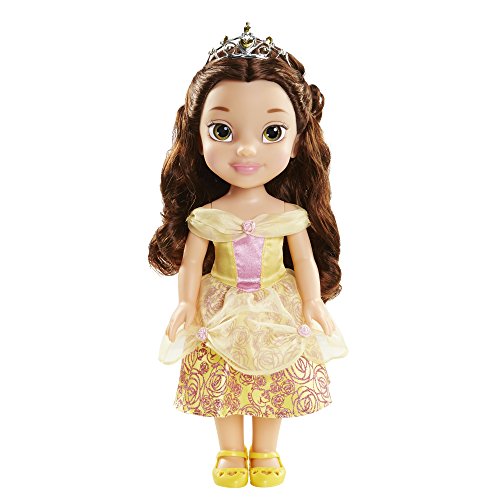
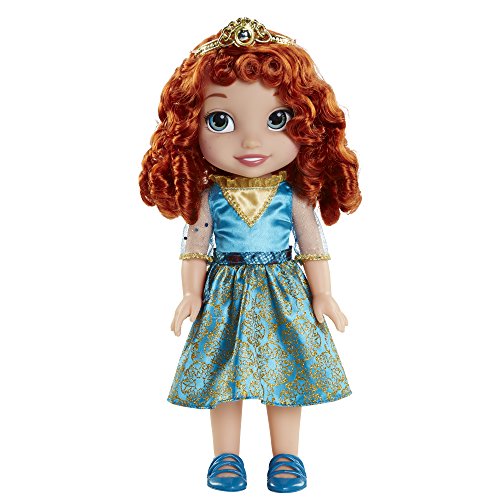
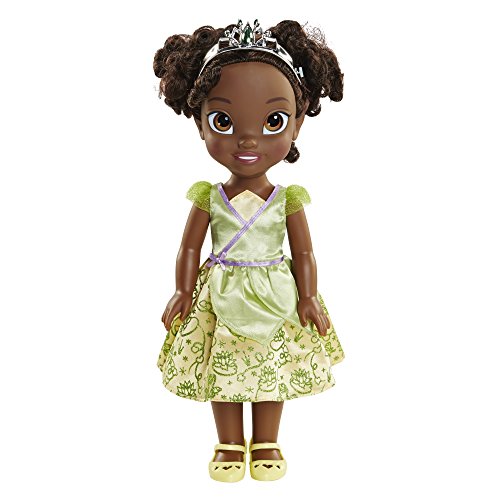
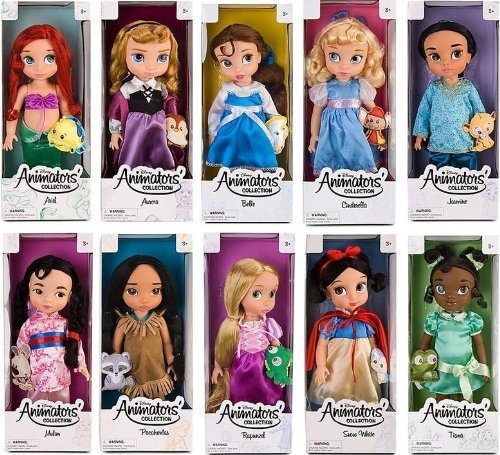
After I made the decision to make the video tutorial for the crochet doll, I had to find the perfect doll, and I didn’t realize that I would have difficulties finding an adorable looking doll that sits! My grandmother’s dolls are not removable. Back then, a lot of people made the bed dolls a part of the dress with just the torso of the doll. The first doll that I purchased was very beautiful, but sadly she wouldn’t sit! So, I set out for a doll that was beautiful, inexpensive, and would sit. I finally found the perfect doll:
Now, that you have some excellent choices for a doll, you are ready to start your crochet bed doll! I hope that you will share a picture of your finished crochet bed doll with me on Facebook! Here are the YouTube video tutorials:
Here is how to make the crochet pillow for your crochet bed doll:
On YouTube comments, Donna said: “Please could you tell me what size the pink pillow is so I’ll know what to buy and should it be square?”
I replied: “Hi Donna! The pink pillow is approximately 18″ x 18″. I just look for an inexpensive throw pillow about that size. It is preferable to get a circular pillow, but I used the pink square pillow because it was on sale for only $5. Once you squeeze it into the crochet covering for the bed doll, people won’t be able to tell if it is circular or square. I also show you how to make one with an inexpensive rectangular pillow with only half to 3/4 stuffing remaining in it. You can make one of those for around $3 and you will have leftover stuffing for some cute amigurumi. 🙂 Please let me know if you have any additional questions. :)”
In the video tutorial, I made my own pillow insert. Sarah told me that she bought a 16 inch round pillow insert that fit perfectly (For those that want to buy a pillow insert). Thank you Sarah for letting us know.
I also show how to make a crochet hooded cape for your bed doll:
There are affiliate links below. If you are unsure of what affiliate links are, please go to “Disclosures/Disclaimers” and “Privacy Policy” at the top of my HOME page. Affiliate links basically allow me to receive a very small commission, butonly if you make purchases. Just because you go to the link doesn’t mean that I will receive a commission.
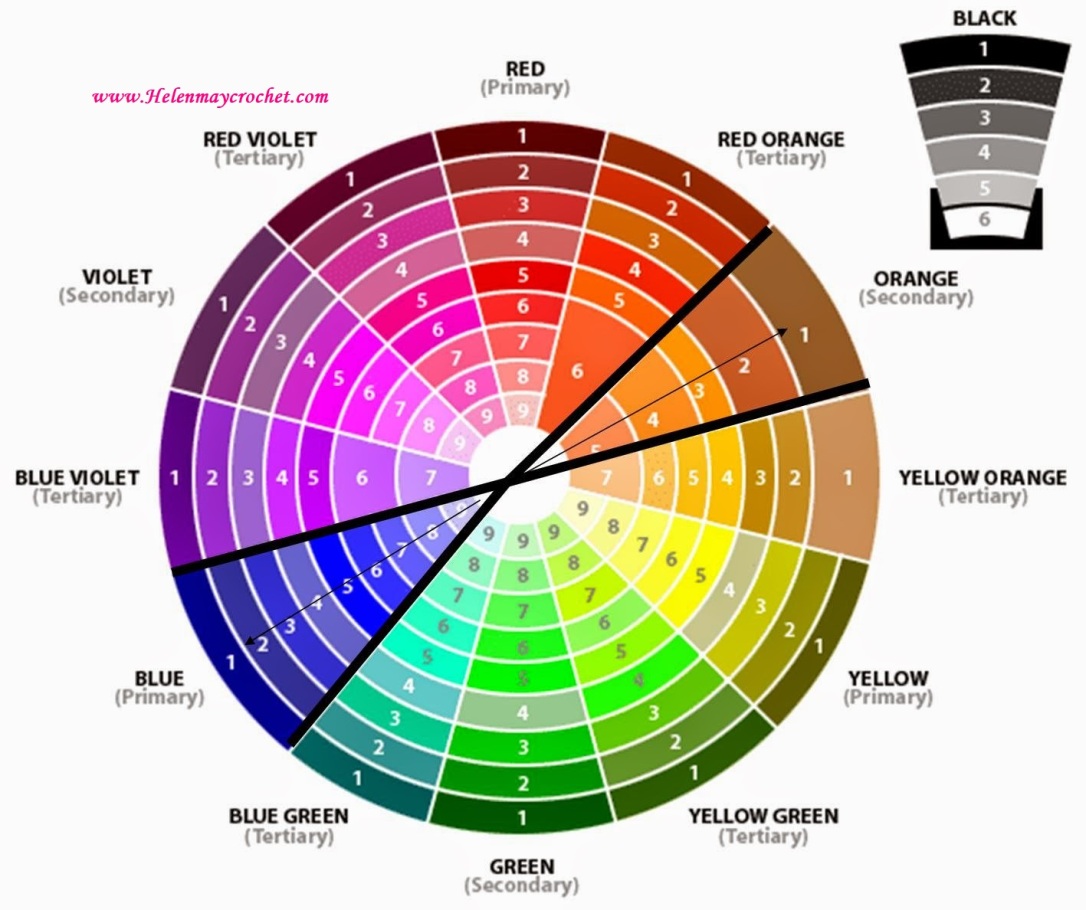
One of the most important things to do before starting a crochet project is deciding what yarn colors that you are going to use. Color choices can drastically change the look of your finished crochet project.
On Facebook, Emma asked: “Please can someone help? I’m trying to put together a color palette of purples, silver/grey and ivory (my friend’s wedding colors) but I’m not sure what brand, shades and what order to put them in. I’d like about 8-10 shades to make a pretty ombre effect. Any ideas will be gratefully appreciated. Thank you xx.”
There are affiliate links below. If you are unsure of what affiliate links are, please go to “Disclosures/Disclaimers” and “Privacy Policy” at the top of my HOME page. Affiliate links basically allow me to receive a very small commission, butonly if you make purchases. Just because you go to the link doesn’t mean that I will receive a commission.
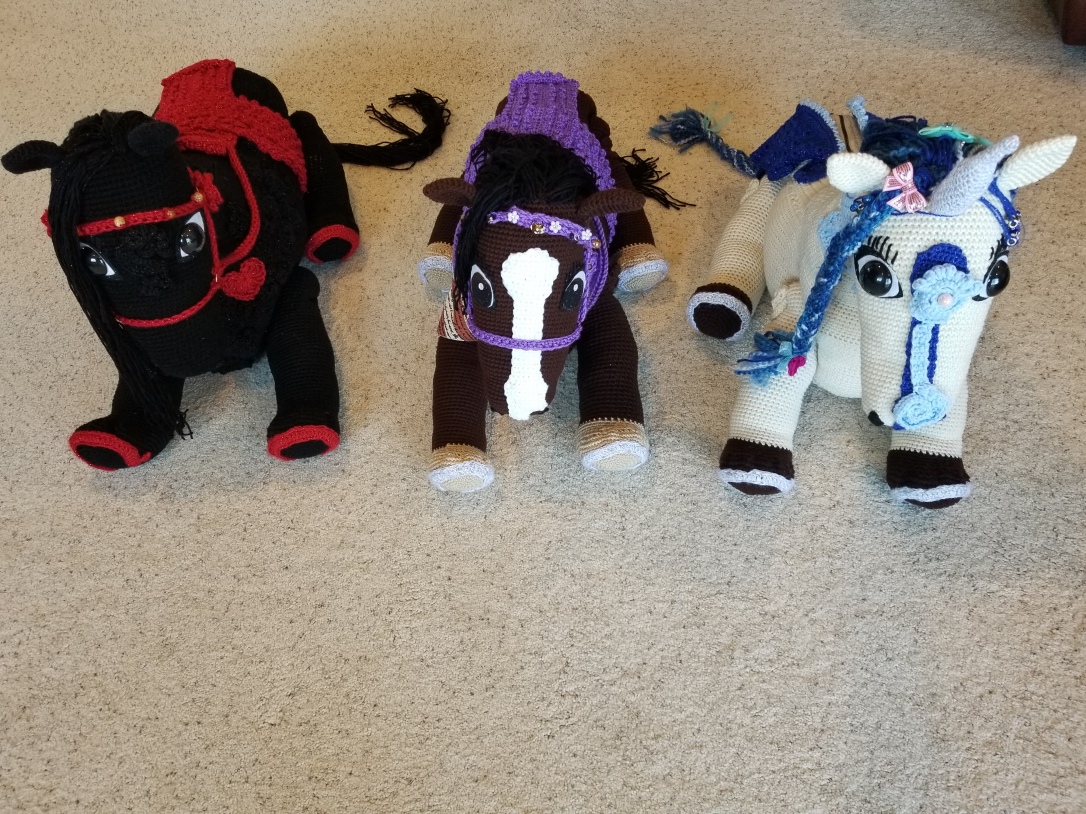
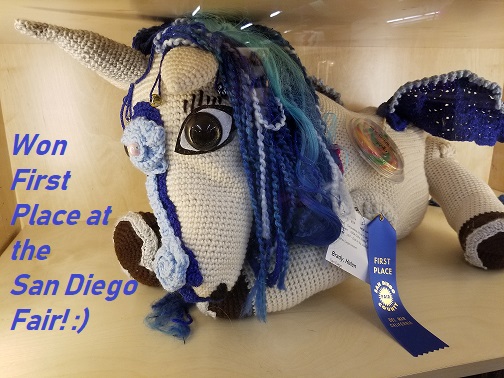
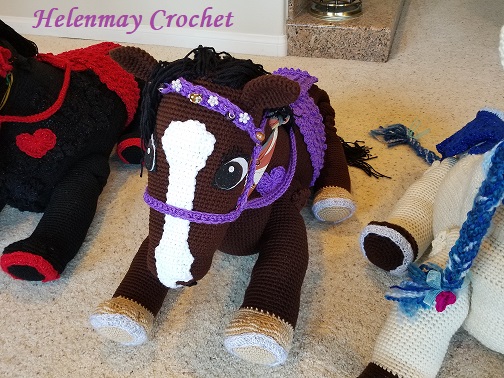
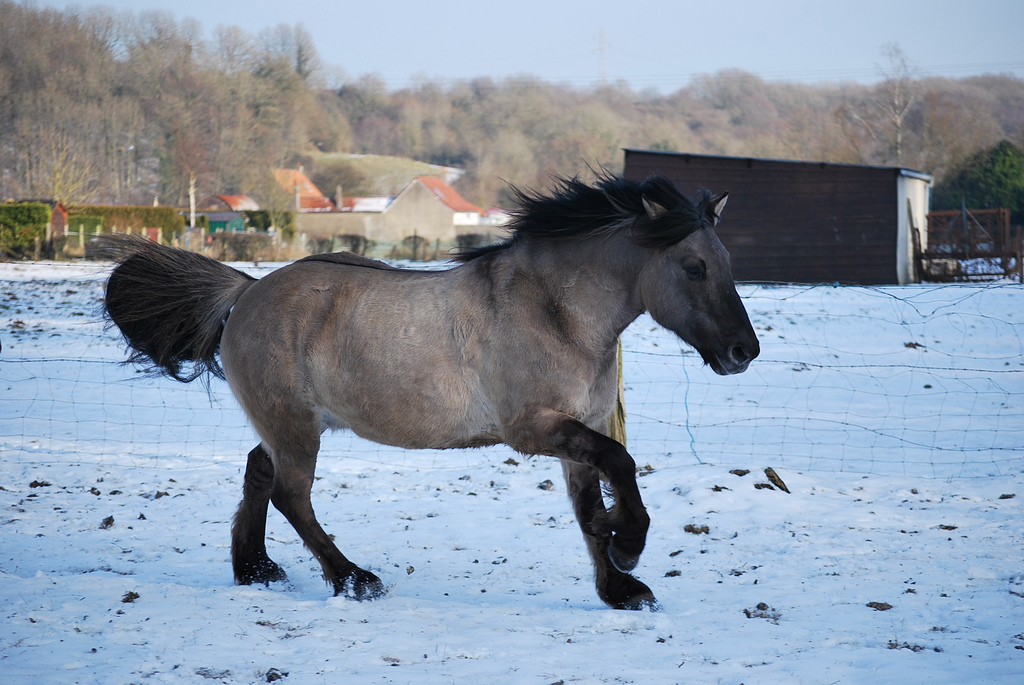
I finally finished my Very Large Crochet Wild Mustang Horses and Large Unicorn! They are my largest crochet amigurumi project to date, and I made 3 of them! I love them all! I have entered the large crochet Unicorn and the Black Beauty into the San Diego County Fair for the year 2018. I think you are going to have a lot of fun if you make your own unique large horse. Black Beauty is the sturdiest out of the 3 large horses, and in the video tutorial, I show what I put inside of her legs and body to make her so sturdy. If you are making the crochet large horse for a small child, I wouldn’t recommend putting the craft wire into the body.
If you would like to purchase the PDF written pattern, here is the direct Ravelry link:
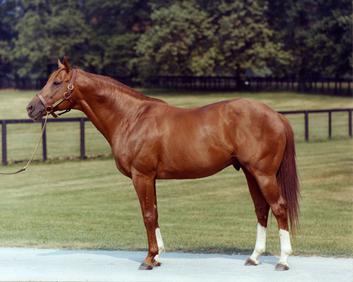
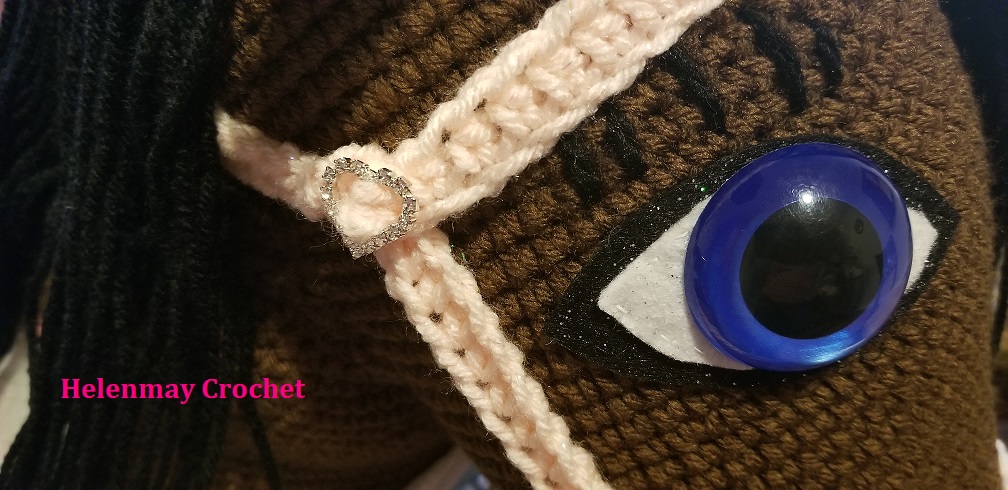
You may have questions about why I used craft wire and other items in “Black Beauty” and “Twinkle Toes.” I made “SeaBiscuit” (The brown horse) to show that you could make these large crochet horses with only craft stuffing. I wouldn’t recommend anything else, other than craft stuffing, inside of the horses, if you are making them for small children. At the end of this blog post, I talk about the craft wire and other items inside my horse and unicorn, and why I used these items.
Helenmay Crochet Large Wild Mustang Horse and Large Unicorn Part 1 of 5:
If you like the freeform crochet that I added to Black Beauty, Sea Biscuit, and Twinkle Toes the Unicorn. I used the paid written pattern by Chudova Irene. I used my 3.75mm crochet hook for the freeform crochet on my crochet large horses. According to Chudova, the level of difficulty is “very hard.” Personally, I found it very easy to follow her written pattern and pictorials. I found her to be a very good teacher through her written pattern. It is your choice if you would like to attempt it. Here is the direct link to purchase: Fifi the Bear, pattern by Chudova Irene
My experience purchasing the paid written pattern from Chudova Irene: I notified her that I wanted to purchase the written pattern. She emailed me the paypal link to pay her, and I then paid her in Russian Rubles through paypal. I waited approximately 30 minutes, and I eventually received the written pattern via email. So, it was a little different then purchasing a written pattern through Ravelry.
I was able to follow her written pattern easily, and she has a lot of pictures in her pattern. I absolutely loved her pattern, and now I plan on incorporating a lot of her crochet freeform into my crochet work.
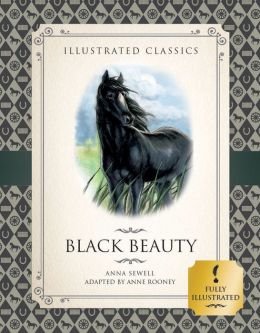
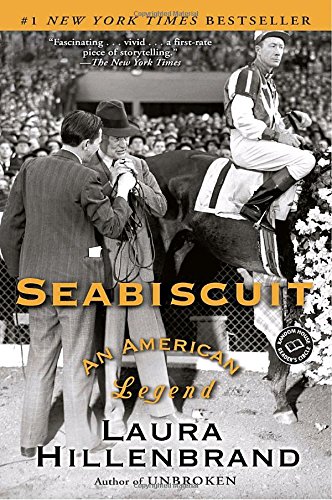
If you plan on giving your crochet horse as a gift, you may like the movie, and books that I recommend below, to go with your horse.
On Amazon Prime, you may love the documentary “Wild Horse, Wild Ride.”
Synopisis of Wild Horse Wild Ride: “Invites us into the world of horse trainers–both amateur and professional–as they participate in the Extreme Mustang Challenge. One hundred trainers have 100 days to tame 100 wild mustangs—horses never touched by humans. The crowning event is a competition in Texas where the horses’ skills are showcased with the hope of helping each one find a permanent home.”
Wylene Wilson Davis was amazing! I couldn’t believe the magic she could perform with a horse. It was beautiful to watch. All of the other horse trainers were incredible also and the bond that they developed with their Mustangs was heart warming.
This Horse Movie is a must have for the Horse Lover’s collection.
“Most of us know the legend, the tall, handsome chestnut racehorse whose string of honors runs long and rich: the only two-year-old ever to win Horse of the Year, in 1972; winner in 1973 of the Triple Crown, his times in all three races still unsurpassed; featured on the cover of Time, Newsweek,and Sports Illustrated; the only horse listed on ESPN’s top fifty athletes of the twentieth century (ahead of Mickey Mantle).
I forgot to put the chains and rows for the body in video tutorial Part 2 of 5:
Helenmay Crochet Large Wild Mustang Horse and Large Unicorn Part 2 of 5:
I forgot to put the number of chains and rows for the body panels in the Part 2 of 5 video tutorial. I wrote it out here for you too:
Bottom Panel and 2 side panels ( Make 3 total):
Chain 76 and 28 rows. Measurements approx 6.5 inches x 19 inches.
Front of the body and back of the body (Make 2 total panels):
Chain 29 and 28 rows. Measurements approx 6.5 inches x 7 inches.
Top back panel with/without zipper (Make 1 total panel):
Chain 49, the video tutorial will show how to place the zipper. If you aren’t using a zipper then 28 rows. Measurements approx 7 inches x 12 inches.
Helenmay Crochet Large Wild Mustang Horse and Large Unicorn Part 3 of 5:
Helenmay Crochet Large Wild Mustang Horse and Large Unicorn Part 4 of 5:
Helenmay Crochet Large Wild Mustang Horse and Large Unicorn Part 5 of 5:
If you like the crochet rose that I sewed on the side of the bridle, here is the direct link:
The crochet heart that I used on my crochet horse/unicorn is the same one that I used for my Crochet Heart Headband. Go to time 8:28 in the video tutorial:
If you are making a zipper pouch, you may want to put your own handmade label on the inside. Here is what mine look like:
This slideshow requires JavaScript.
This video tutorial shows how I made my handmade labels:
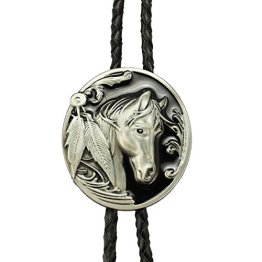
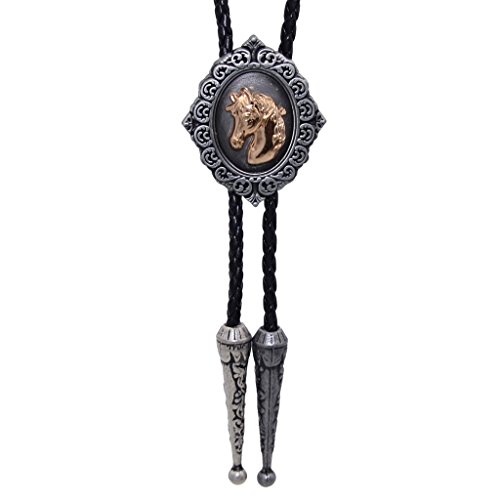
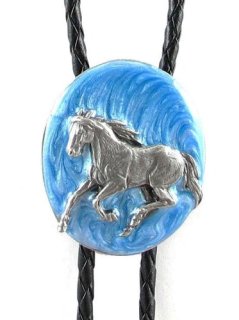
You may want to check out The Cloud Foundation Online Store make sure to read their story too. They have beautiful horse pendants that would be gorgeous on your large crochet horse!! The Cloud Foundation is on Amazon Smile too.
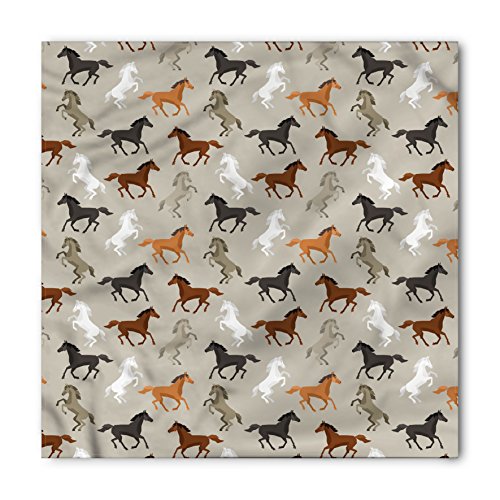
Here are some more pictures of my “Black Beauty” Large crochet horse. I added a crochet pouch for the classic “Black Beauty” book. I added more Freeform crochet, a horse bolo tie, and I added a label to her saddle that says “One of a Kind.” Her Bandana is from Stagecoach Country Music Festival 2018.
This slideshow requires JavaScript.
In my Facebook group, Marilynn asked me: “How long does it take u to
Make them?”
I responded: “Hi Marilynn! It is so funny, because I must have been asked this 3 to 4 times while waiting in line to turn them in to the Home and Hobby section at the county fair. I really want to tell people how long it took, but I honestly don’t know the real crochet time that it would take to make one. I can only give an estimate because I work on several crochet projects at the same time throughout the day depending on the crochet project, and no, I don’t sit and crochet all day long every day..lol…( I seriously think that some people believe that). I do crochet a lot, which is obvious from my YouTube Channel. I will try to give you a reasonable time estimate for one crochet large horse, which still allows for you to carry on with the rest of the activities in your life (Meaning approximately 2-3 hours of crochet time a day). You may be able to finish it faster, or it may take you longer, but I doubt it will take you more than 2 months. This is approximately how long I think it would take a very slow crocheter: 1 week for the horse head, 1 week for the horse body, 1 week for the horse legs, and 1 week for decorating your horse. It should only take approximately 1 month to complete your crochet large horse. I hope that helps!”
I made these crochet large horses and unicorn as an heirloom. For those trying to sell them, I saw a large plush unicorn in the toy store for $199.00. These finished handmade crochet large horses and unicorn should be sold for more than that. “Seabiscuit” my large brown crochet horse went into storage. “Black Beauty” and “Twinkle Toes” went to a horse charity, and “Aurora” went to a horse charity on the east coast of the United States.
In my Facebook Group, Rachel asked “I will be starting this when I get back from my holiday . What sort of wire are you using video three and what were the tubes for ? Xx”
I replied: “I used a 12 gauge floral wire because it is very malleable and still sturdy. I didn’t want to put something too rigid in their bodies (Could be dangerous). The 12 gauge wire will coil around itself very easily (so I am not worried about it breaking free and protruding from the body, and it is still sturdy). Of course, you are still putting a wire in the body so I still recommend not putting it in, if the horse is for a small child (Just to be extra safe). I was trying to think of a way to add malleability and sturdiness without putting something very rigid (and dangerous) in their bodies. I was walking through the hardware store trying to find something, when I saw the inexpensive plastic tubing used for plumbing! It was perfect! I could also cut it easily with a pair of scissors. It covered the craft wire easily and fulfilled its purpose: keeping the malleability and adding sturdiness. It also covers the craft wire well. It would be very difficult for the craft wire to break free of the tubing. If I were to make another one, this is the method I would use again. “Black Beauty” is very sturdy! Let me know if you have any questions as you build your crochet horse/unicorn. :)”
I used floral tape to cover the coiled craft wire. You may like this deal that comes with craft wire for flower making.
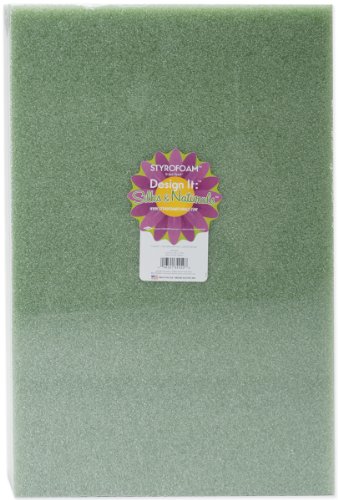
The other surprise that you may find that I used in “Black Beauty” is the floral styrofoam,
which is optional to use.
The styrofoam is lightweight and sturdy. You can also easily cut it in half. You only need half for one horse or unicorn. I put half of one of these in the body of “Black Beauty.” I wanted to see if it would help make her sturdier and possibly stand. She was able to stand easier than any of the others, but it was still work trying to get her to stand. I put the styrofoam block in one of the empty pillowcases before putting it in the body of “Black Beauty,” but you can feel the styrofoam block. So, I would recommend poly foam instead like Leslie Passman did for her finished crochet “Black Beauty” that she entered into my Crochet Outstanding Amigurumi Contest for the year 2019.
This is the order that I did everything: I put craft stuffing on the bottom of the body, sewed the legs on with yarn (This helps secure the legs a little closer to the body. I still had the craft wire holding the legs to the body, but it wasn’t enough for me. I didn’t want wobbly legs, so I still sewed the legs on with the yarn too. If you have a zipper pouch, make sure that the crochet pouch is pulled out of the body before sewing the legs on), I then placed the styrofoam block on top of the craft stuffing and craft wires, and then placed even more stuffing on top of, and all around, the styrofoam block. The zipper pouch went back in easily, and I was able to fill it with items that I show on video tutorial. I could still feel the styrofoam in the body of Black Beauty when I finished, but it didn’t bother me. If you think that you wouldn’t like that, you may want to omit the styrofoam.
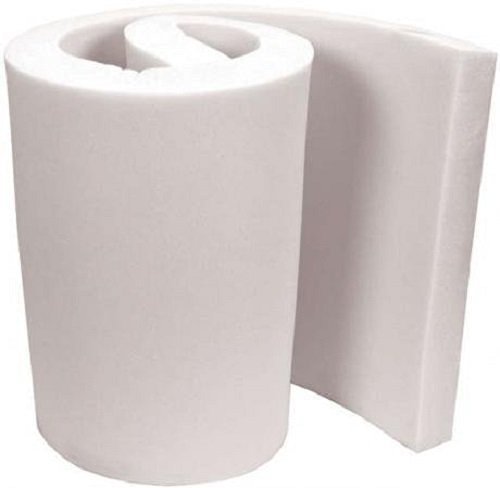
Leslie Passman shared a picture of her finished crochet “Black Beauty” horse and she said that she used poly foam in her horse, which I thought was sheer genius.
Click on the picture above, or here, to go to the affiliate link for poly foam. Prime eligible!
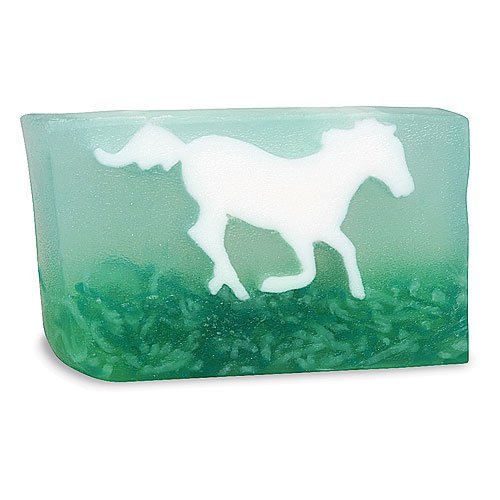
This Horse Soap would be perfect for the guest bathroom!
CStone left a comment below and mentioned that the zipper on the back of the crochet horse could resemble the DUN gene. The DUN gene is ” a dilution gene that affects both red and black pigments in the coat color of a horse. The dun gene has the ability to affect the appearance of all black, bay, or chestnut-based horses by lightening the base body coat and suppressing the underlying base color to the mane, tail, legs, and primitive markings.” If you would like to read more about it, here is the direct link: Wikipedia
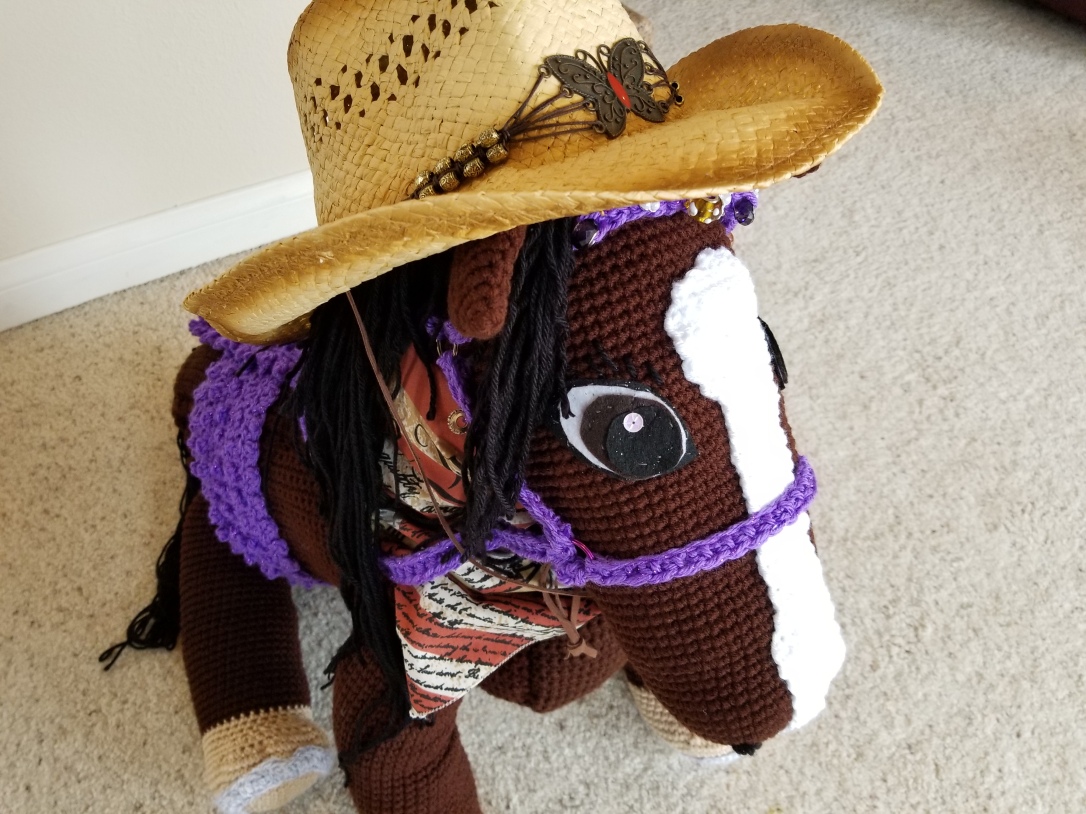
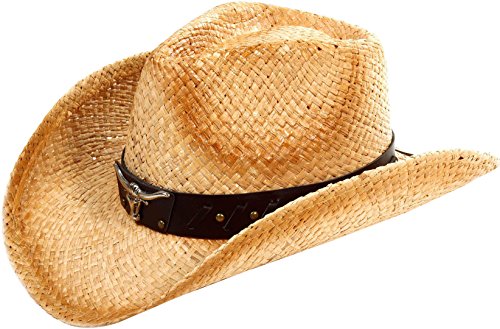
I love the cowboy hat that I added for my crochet horse, if you would like a similar one, click the picture above, or here (It does not have a butterfly on the front of the hat).
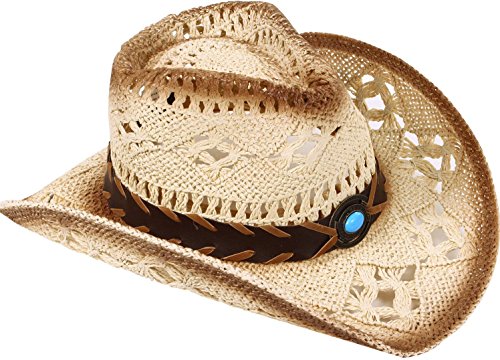
The gorgeous hat above, click here, or the picture.
If you would like to learn more about the Cloud Foundation and to donate to their charity, Here is a direct link to the Cloud Foundation. Another way to donate to their charity is by making purchases through Amazon Smile. The AmazonSmile Foundation will donate 0.5% of the purchase price from your eligible smile.amazon.com purchases. Remember to pick the charity that you would like to make donations to with your purchases on Amazon Smile.
If you like the gold rings that I used on the bridle, I used 23mm hollow metal ring-gold. Here are direct links to purchase similar items on Amazon Prime: