For those that don’t speak English, please go to the bottom of the page and look for the “Google Translate” feature.
There are affiliate links below. If you are unsure of what affiliate links are, please read my “Disclosures/Disclaimers” and “Privacy Policy,” which can be found at the top of my Home page.
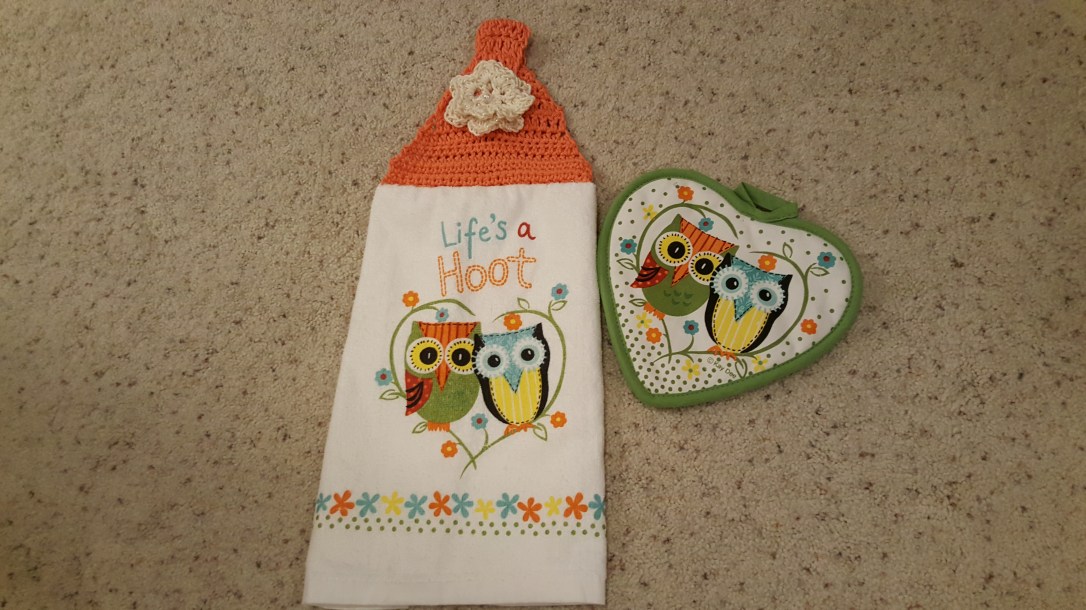
My Grandmother used to gift everyone Crochet kitchen towel toppers. I used mine until it was ragged! I always loved them, and whenever I looked at them, I would wonder how in the world she made them! Now, I make them and gift them to friends and family. I was surprised by the response to my “Life’s a Hoot!” kitchen towel toppers. People really liked them a lot! In fact, someone just asked me about them today! I had already moved them from my Facebook group files to my blog. I told her that I would keep them free for everyone. I do have other step-by-step YouTube video tutorials for different crochet kitchen towel toppers:
Helenmay Crochet YouTube Channel
The first step in making your Crochet Kitchen Towel topper is to find the perfect kitchen towel:
If you like my Life’s a Hoot kitchen towel, click here.
Some of my favorite kitchen towels have recipes on them:
This one is perfect for St. Patrick’s Day, click here.
Here is a set of 3, 100% cotton, with pie recipes, click here.
How about a Pumpkin Pie recipe? Click here.
I don’t have this one, but I would love to have it! A Tortilla recipe on the kitchen towel! Click here.
If you like honey bees like I do, you can see the honey scone one that I made in the pictures above, you will love this complete set! Click here.
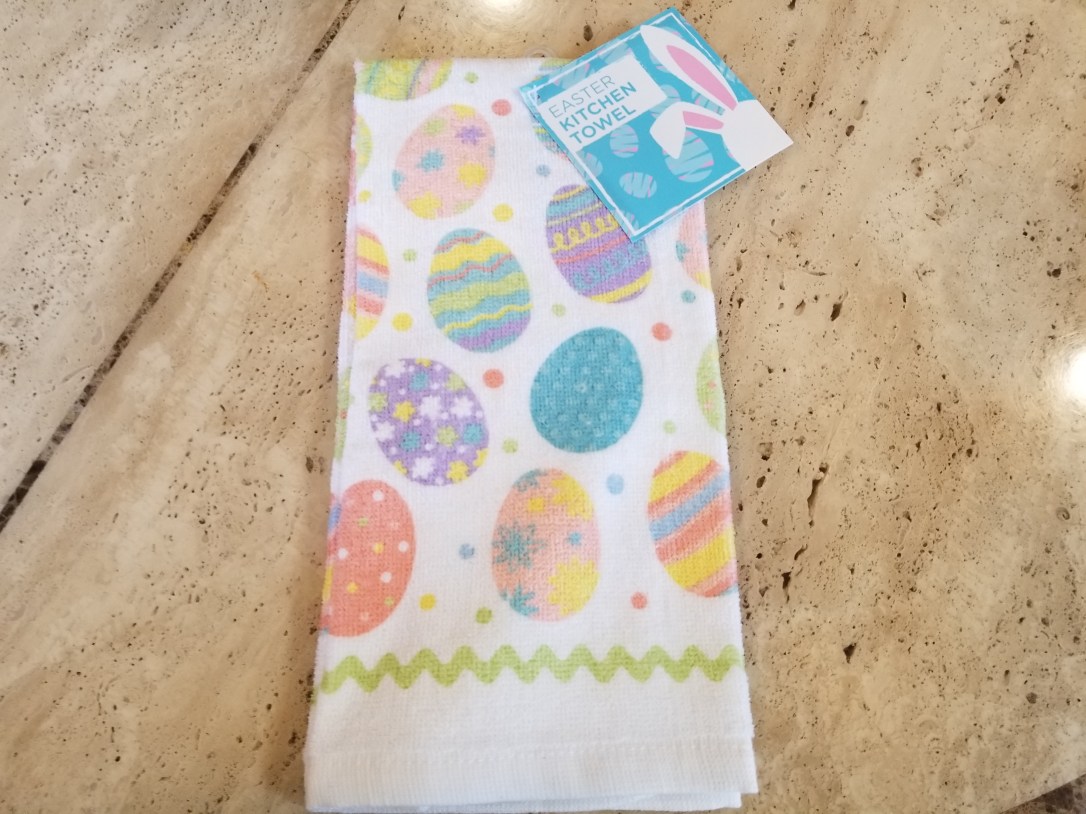
Are you getting ready for Easter? You may like these kitchen towels, be sure to look at the different designs that they have because they have more than one design at this link. Click here.
Different crocheters have different methods for making their crochet kitchen towel toppers. My Grandmother used to cut her kitchen towels to make hers. I didn’t like cutting my towels. So, I make mine with the whole kitchen towel.
If you would like to make your own Tunisian Knit Stitch crochet towel, here is the YouTube video tutorial:
For those that want to print out their own free PDF download:
Crochet Life is A hoot-towel-topper1
Crochet Life Is A Hoot-towel-topper2
Crochet Life Is a Hoot-towel-topper3
CrochetLife is a Hoot-towel-topper4
I am going to add this written out portion for those that need Google Translate. 
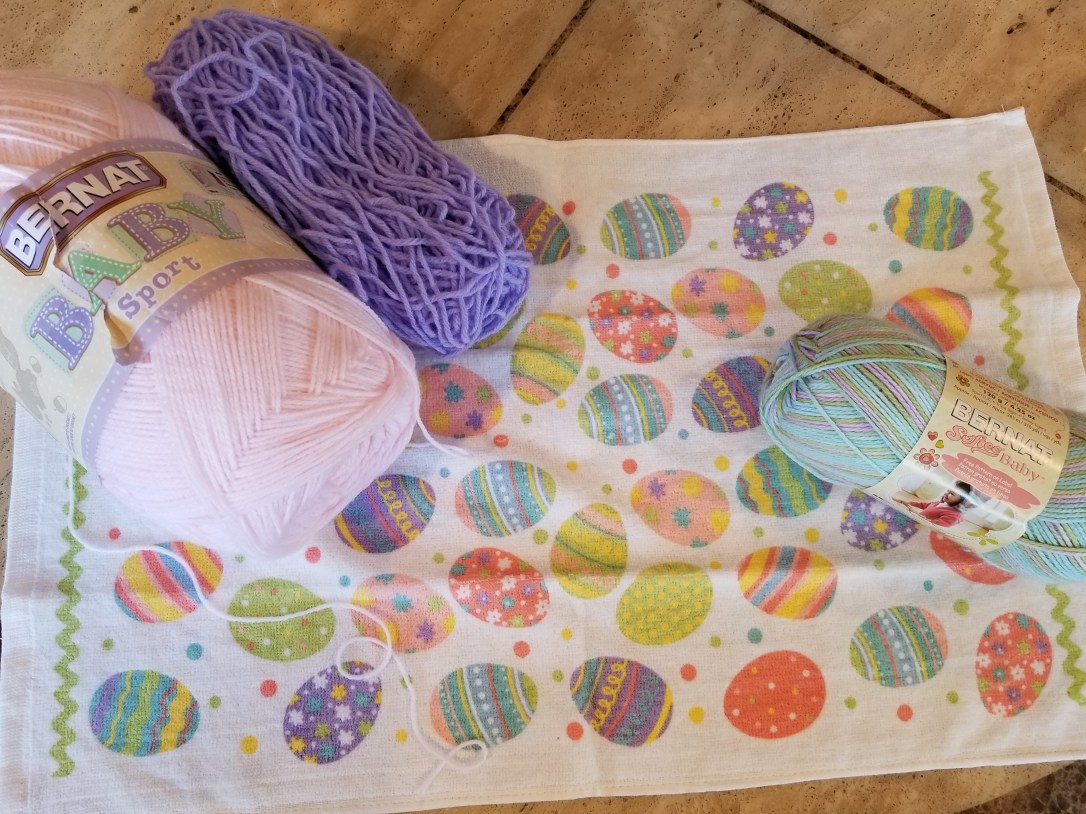
Here is the kitchen towel that I chose just in time for Easter:
Open up your kitchen towel
If you don’t have a good fold down the center of your kitchen towel, you can iron one in. It will be helpful when you make your embroidery stitch across the center.
Pick the yarns that you want to use for your crochet kitchen towel topper.
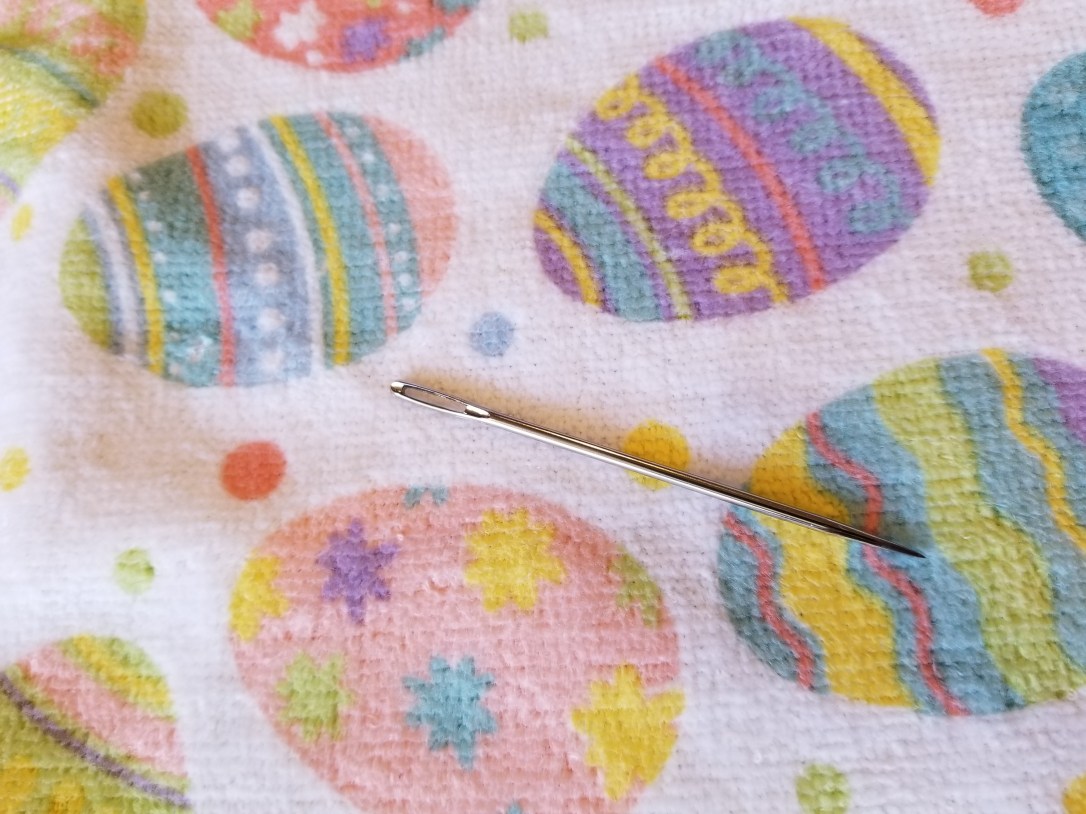
Use a tapestry/darning needle with a sharp end. If you would like to see what crochet items that I use, I list them all out on my Beginner Crocheter page.
With the right side of the kitchen towel facing up. You are going to come up from the wrong side of the kitchen towel, through to the right side of the towel with your tapestry needle. Go along the center fold of the kitchen towel.
Place the yarn at 45 degrees towards the top left corner of the kitchen towel (as shown in the picture above), go back down into the kitchen towel with your tapestry needle, going from right side to the wrong side, but don’t go all the way through the kitchen towel with your tapestry needle. Enter the kitchen towel as close as you can get to the 45 degrees angled yarn. Come back up through the kitchen towel with the tip of your tapestry needle, from the wrong side to the right side. You should have about 1cm of the kitchen towel, with your tapestry needle. Now, you can bring the tapestry needle all the way through, but go through the loop of yarn, with your tapestry needle. Cinch the loop of yarn down on top of the towel. The first embroidery stitch is made.
Now, place the point of the tapestry needle just outside the first embroidery stitch loop, towards the wrong side of the towel, bring the tapestry needle back through to the right side of the towel approximately 1cm. The point of the tapestry needle should be coming through the loop of yarn created. Make your embroidery stitch down the center of your kitchen towel. After the last embroidery stitch, tie your knot on the wrong side of your towel.
Fold your kitchen towel. The embroidery stitches should be along the top of the towel. Join your “J,” or 6.00mm crochet hook, with your yarn, in the top right-hand corner of the towel. Put your crochet hook through the embroidery stitch on the front of the towel, and the back of the towel, joining the front and the back of the towel with a single crochet (sc) stitch (st). Place 2sc stitches in each of the combined embroidery stitches (front and back) across your kitchen towel. You may have a single center stitch, depending on how many embroidery stitches you have.
*Chain (ch) 1, turn your work, 1sc in every st back across. Repeat from * 1 more time (Totaling 3 rows of single crochet. You should have the same number of stitches for each row).
*Turn your work, and 1 Half Double Crochet (HDC) into the next st over (Because you didn’t ch1, you will have fewer stitches for this row), and every st back across. Repeat from * until you have completed 3 rows of HDC (each of these rows should have fewer stitches for each row, creating a slight angle on each edge forming a triangle towards the top.
*Turn your work, and 1 Double Crochet (dc) into the next st, and every st back across. Repeat from * 1 more time (completing 2 rows of dc).
*Turn your work, and 1sc into the next st, and every st back across. Repeat from * until you are down to only 6 stitches.
*ch3, turn your work, 1dc into the next st, and every st back across. Repeat from * until you have completed 5 rows of dc.
Ch8 (for the button loop), slip stitch (sl st) into the top st of the dc on the opposite side. Finish Off (FO). Bury your loose yarn ends.
For the Crochet Rose:
Ch5, sl st into the first ch forming a circle.
Ch1, *sc into the center of the circle, ch3, sc into the center of the circle. Repeat from *5 times.
Ch3, slst into the first sc. You should have a total of 6 ch3 loops.
Into each of the ch3 loops, you are going to create a crochet petal: sc, hdc, hdc, dc, dc, hdc, hdc, sc.
Around the center of your crochet rose, you are going to create your inner petals. Make a sc around the first inner spoke of the crochet flower, ch2, sc around the next inner spoke, all around the inner part of the flower, creating ch2 loops all around the center of your flower. Into each of the ch2 loops, you are going to create a crochet inner petal: sc, hdc, dc, hdc, sc.
After completing all of the inner crochet petals, slst into the first sc, and FO.
At this point, you can sew a bead into the center of your flower. For mine, I made a magic circle (If you need assistance with the magic circle, click here), with 6sc. For the next round, I placed 2sc in every st in the round for a total of 12 stitches. FO. Sew this centerpiece in the middle of your flower.
Now, sew the flower onto your crochet kitchen towel topper. Place the flower in the center of your first dc row. The crochet button loop that you created will go over the flower and allow you to hang the crochet kitchen towel on your oven handle.
The very popular Quick Easy Beginner Life’s a Hoot Crochet Kitchen Towel Topper step-by-step YouTube video tutorial:
For a crochet bottom design on your kitchen towel:
I get asked a lot about where I find my kitchen towels, and I try to tell people in the beginning of the video tutorial. Just today I was asked about my “You are my Sunshine” Rooster kitchen towel. This kitchen towel is by Sonoma Goods for Life Rooster Sunshine Kitchen Towel, but I can’t find it anymore. Good Luck finding it. However, here are some other beautiful Rooster Kitchen towels that you may love:
This rooster kitchen towel is a gorgeous work of art! Click here to find it.
This rooster set is stunning, and comes in a set of 8 pieces!!! I would love this in my kitchen. Click here to find it.
Just adore all the towel set’s ,wish I could purchase all of them. And so grateful you shared your topper pattern. I have been wanting to make some,but I haven’t been successful. Only tried to once and it was a flop but I was just starting out and tried a pineapple pattern and it’s in with my fails. But this time I’m going to finish thank-you for sharing your pattern and giving such detailed pictures and instructions.
LikeLike